Posts

In this part of the article we will describe further types and ways of making architectural models in order to present even better the possibilities of making models.

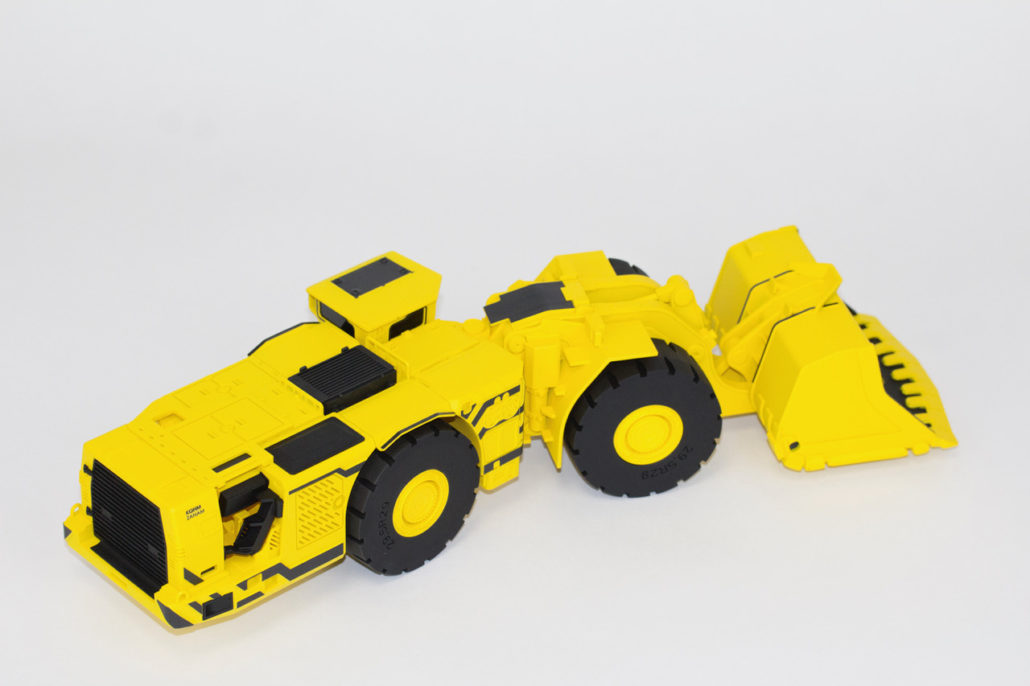
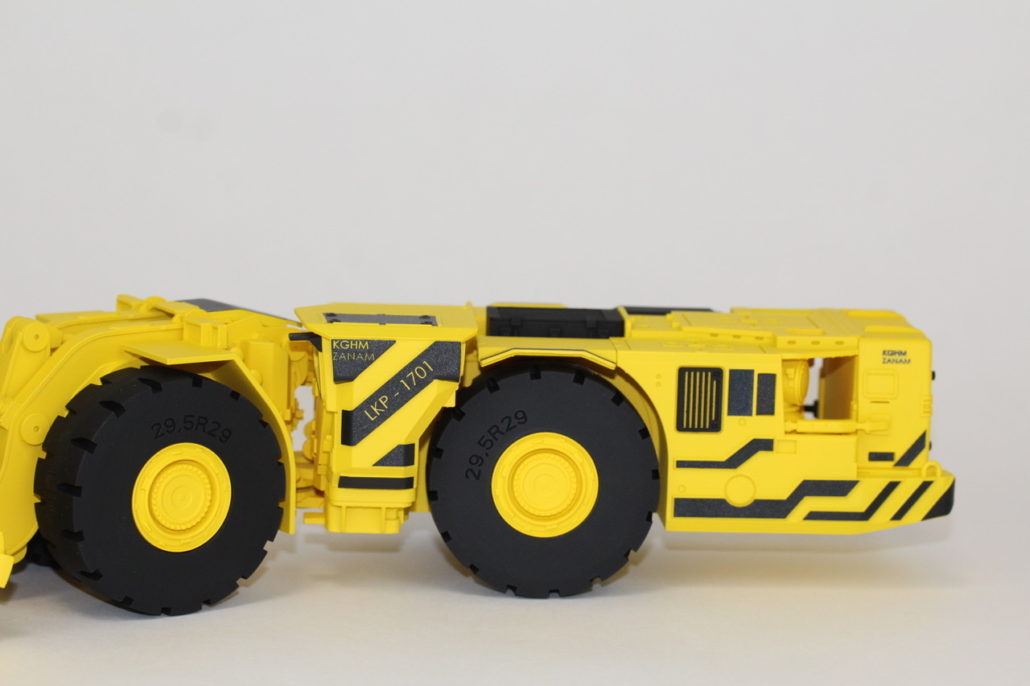
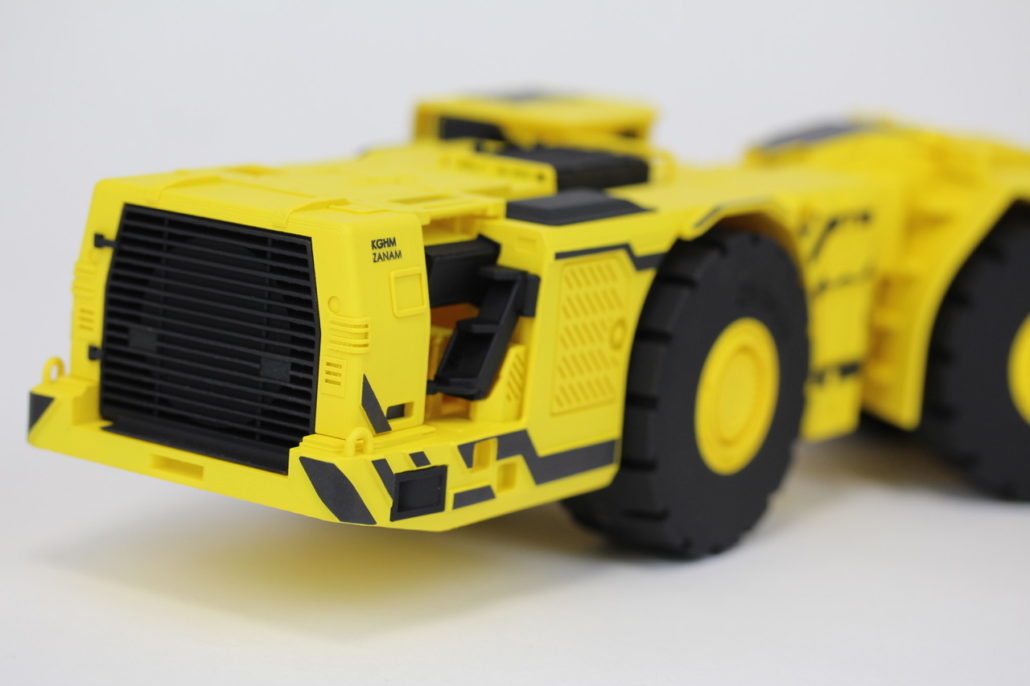
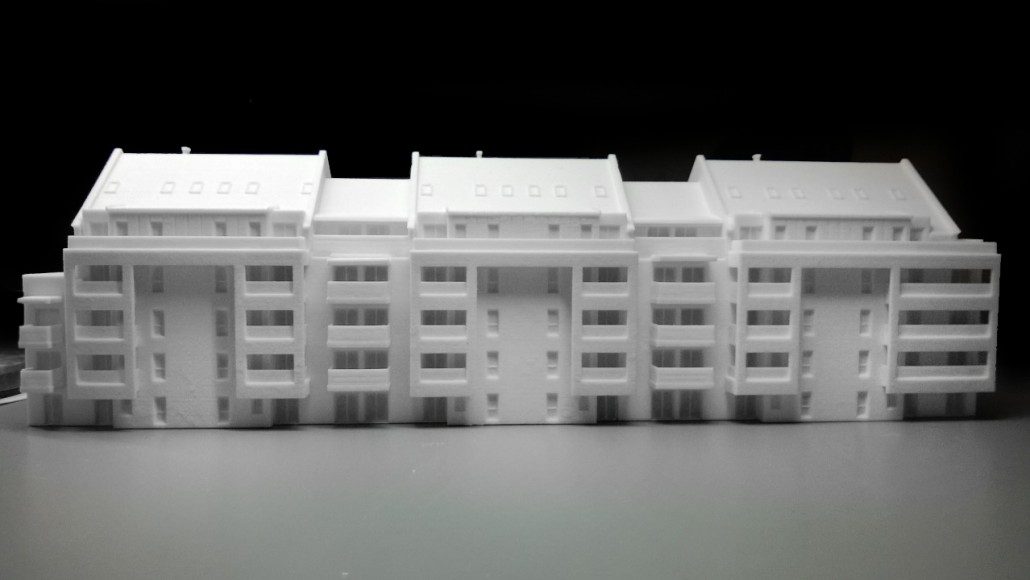
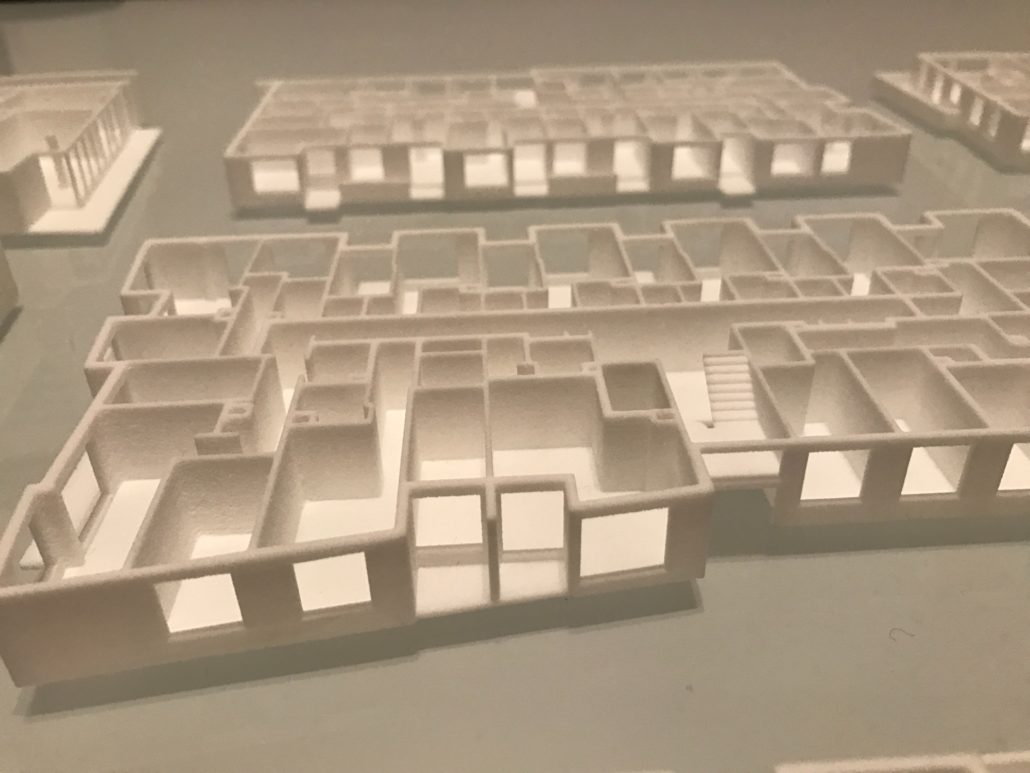
Scale models from FDM (Fuse deposition modeling) 3D printing

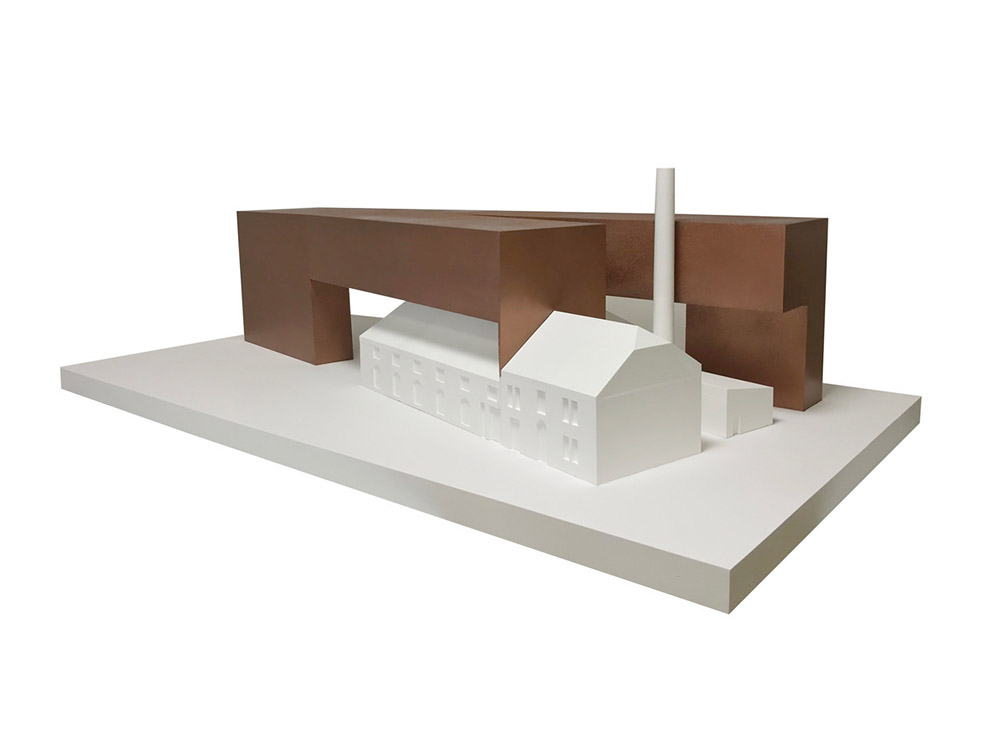
3D printing technology is becoming more and more popular during building design. It allows for a quick and easy way to present the concept of the model and transfer it to reality. Due to the low cost of 3D Printing (f.ex. FDM), we can afford to make various concepts and choose the best one.

Standards of scale: 1:50/1:87/1:100/1:120/1:220

Main features: Details limited by the features of 3D FDM printing technology. Visible layers of 3D printing and connections between elements.

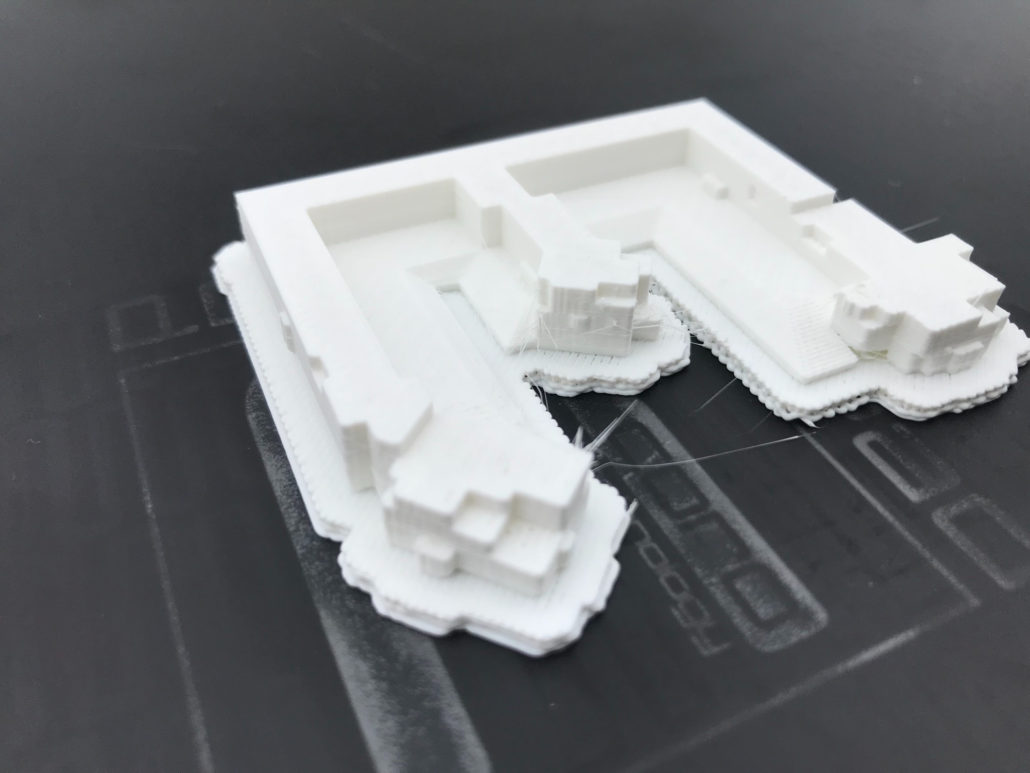
During 3D FDM printing, the supports are created after removal of which the traces remain visible. Filling and painting of models is possible.

Technology of execution: FDM 3D printing. Limiting the model size to the working chamber of the machine.

Materials: PLA, ABS, HIPS – plastic for FDM 3D printing

Colouring: Monochrome or painted models after printing according to the given color scheme.

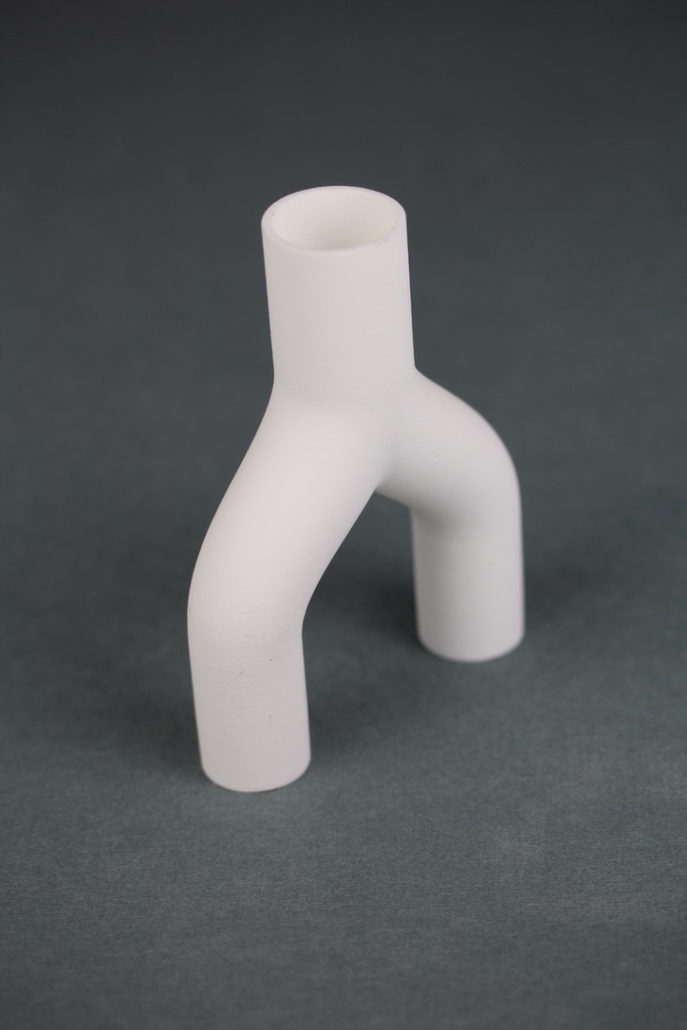
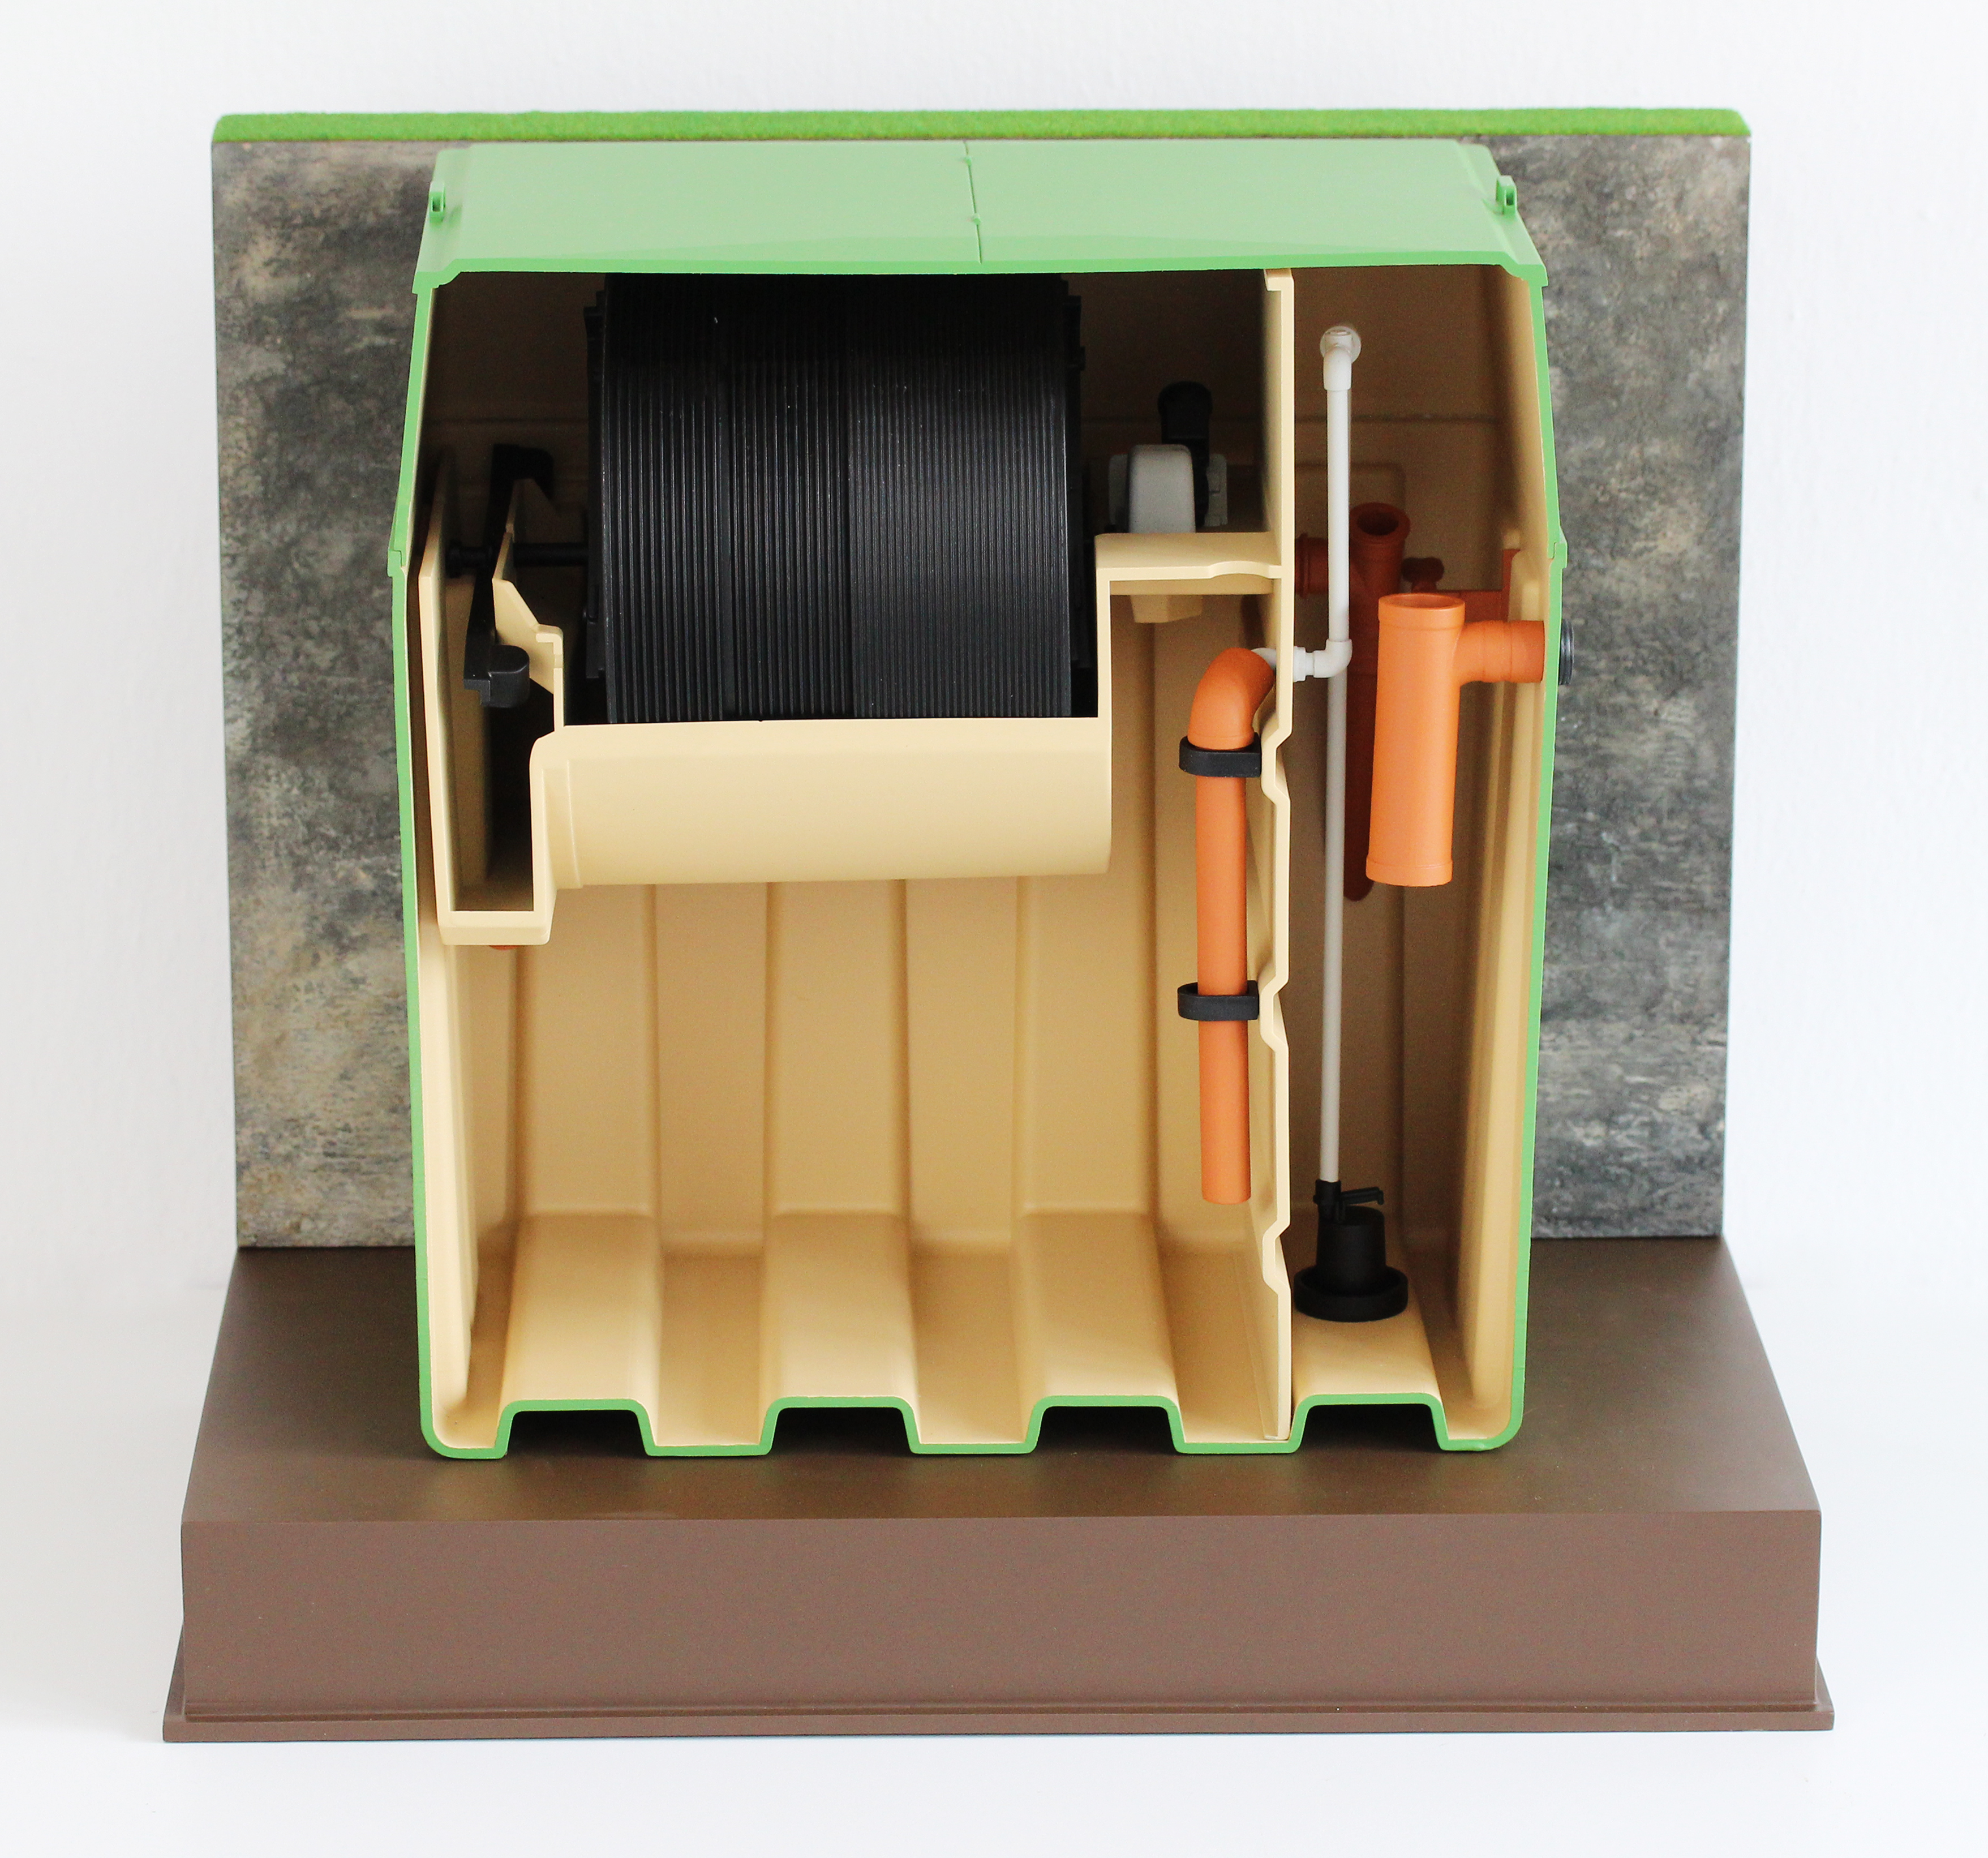
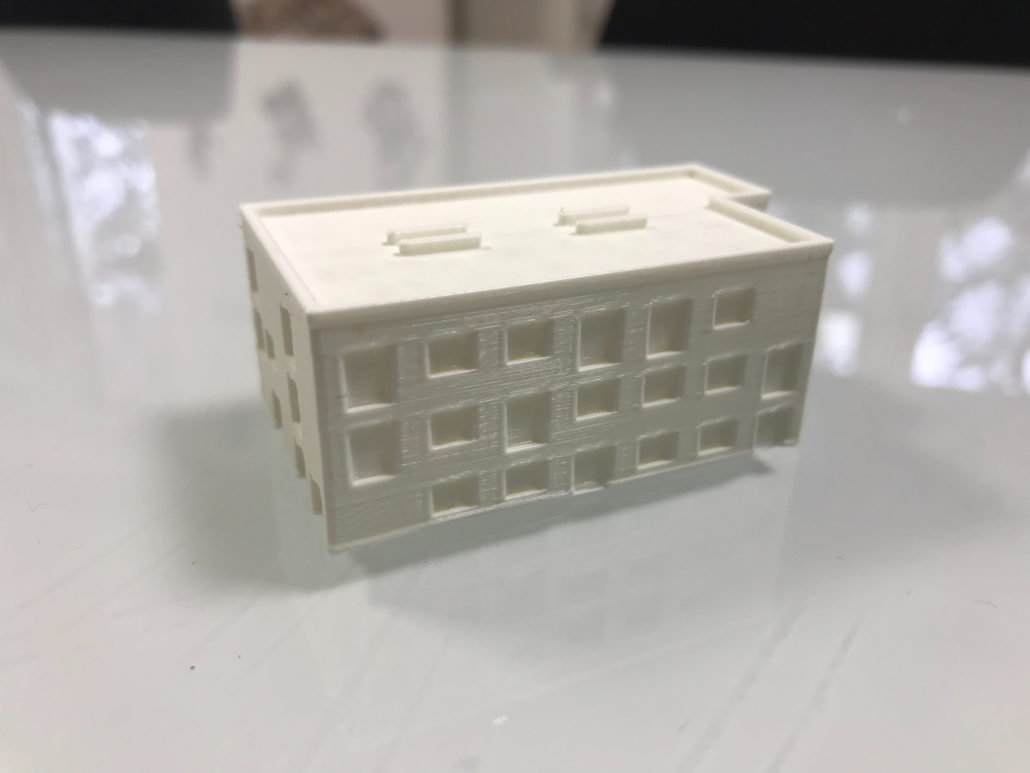
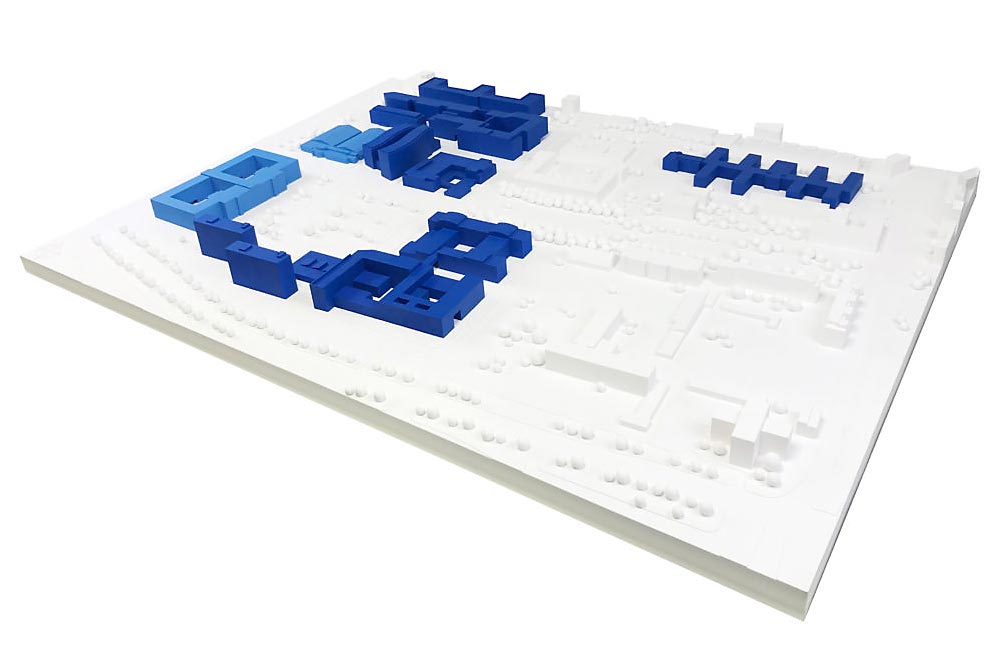
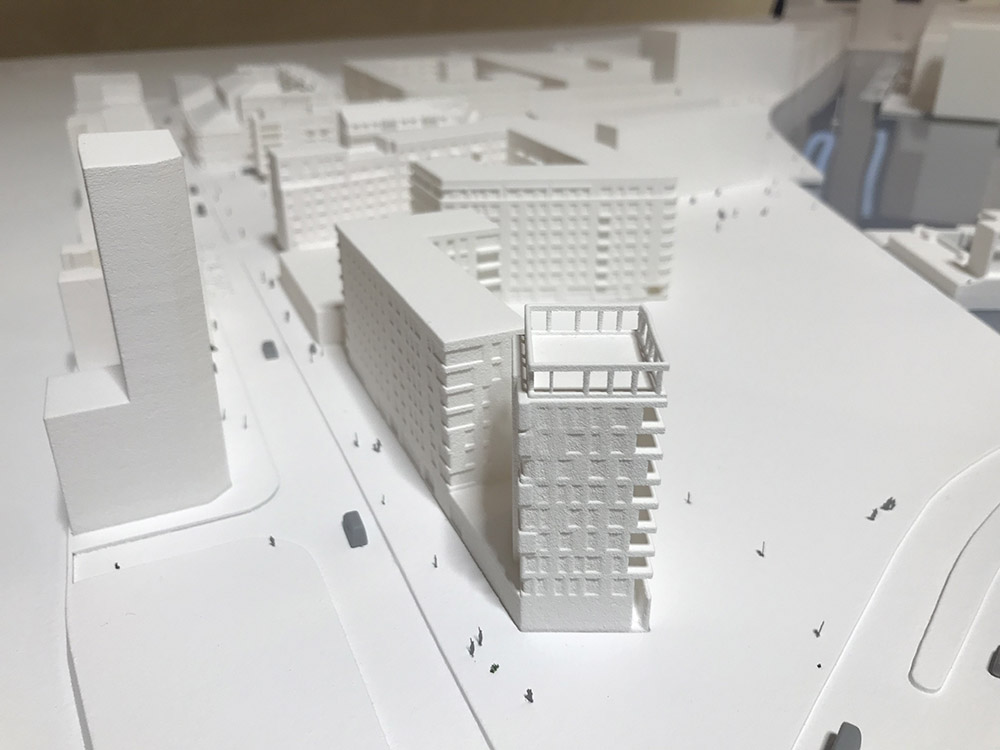
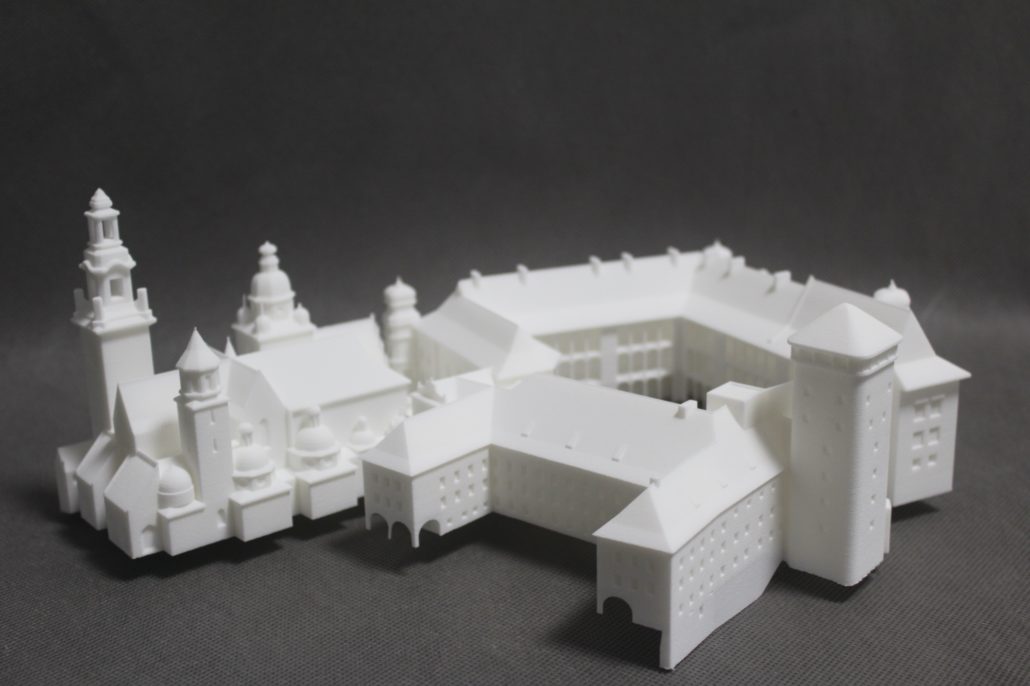
SLS (Selective laser sintering) 3D printed mock-ups

SLS 3D printing technology gives more possibilities through the production process itself. The models print in a chamber filled with PA (Polyamide) powder, thanks to this solution the models do not need any supports. This way we can achieve even the most complicated geometries.

Standards of scale: 1:87/1:100/1:120/1:220/1:500/1:1000

Main features: Details limited by the features of 3D SLS printing technology. Good representation of the geometry of the model. Works well for complex geometries and urban models.

Materials: Polyamide, white

Colouring: Monochrome or painted models after printing according to the given color scheme.

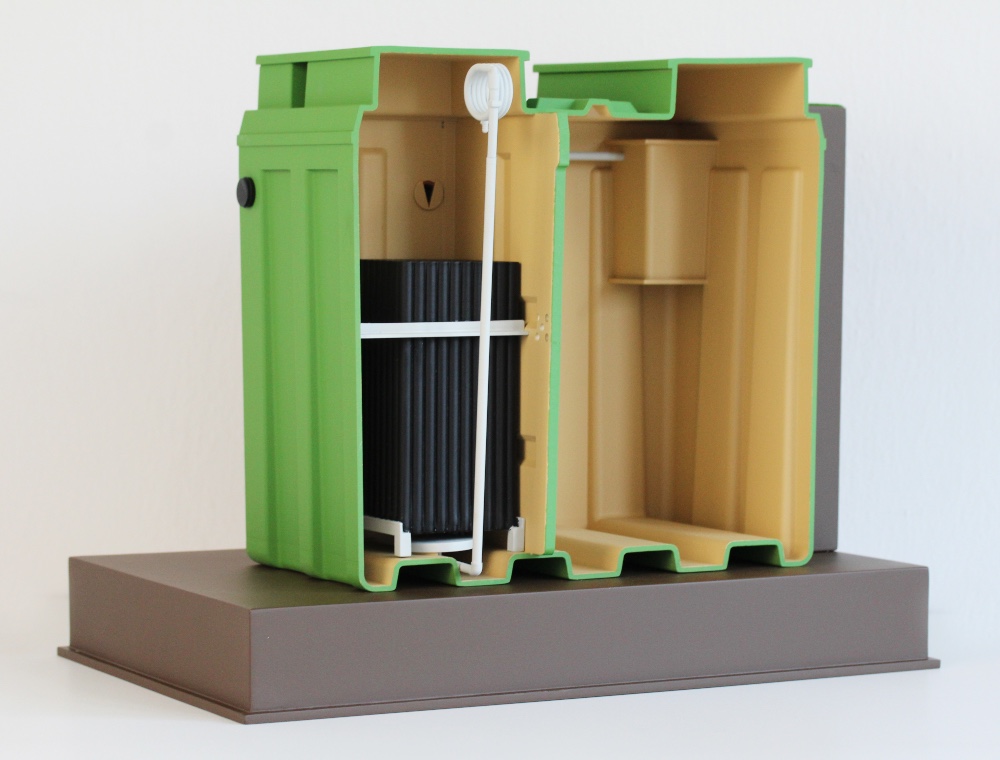
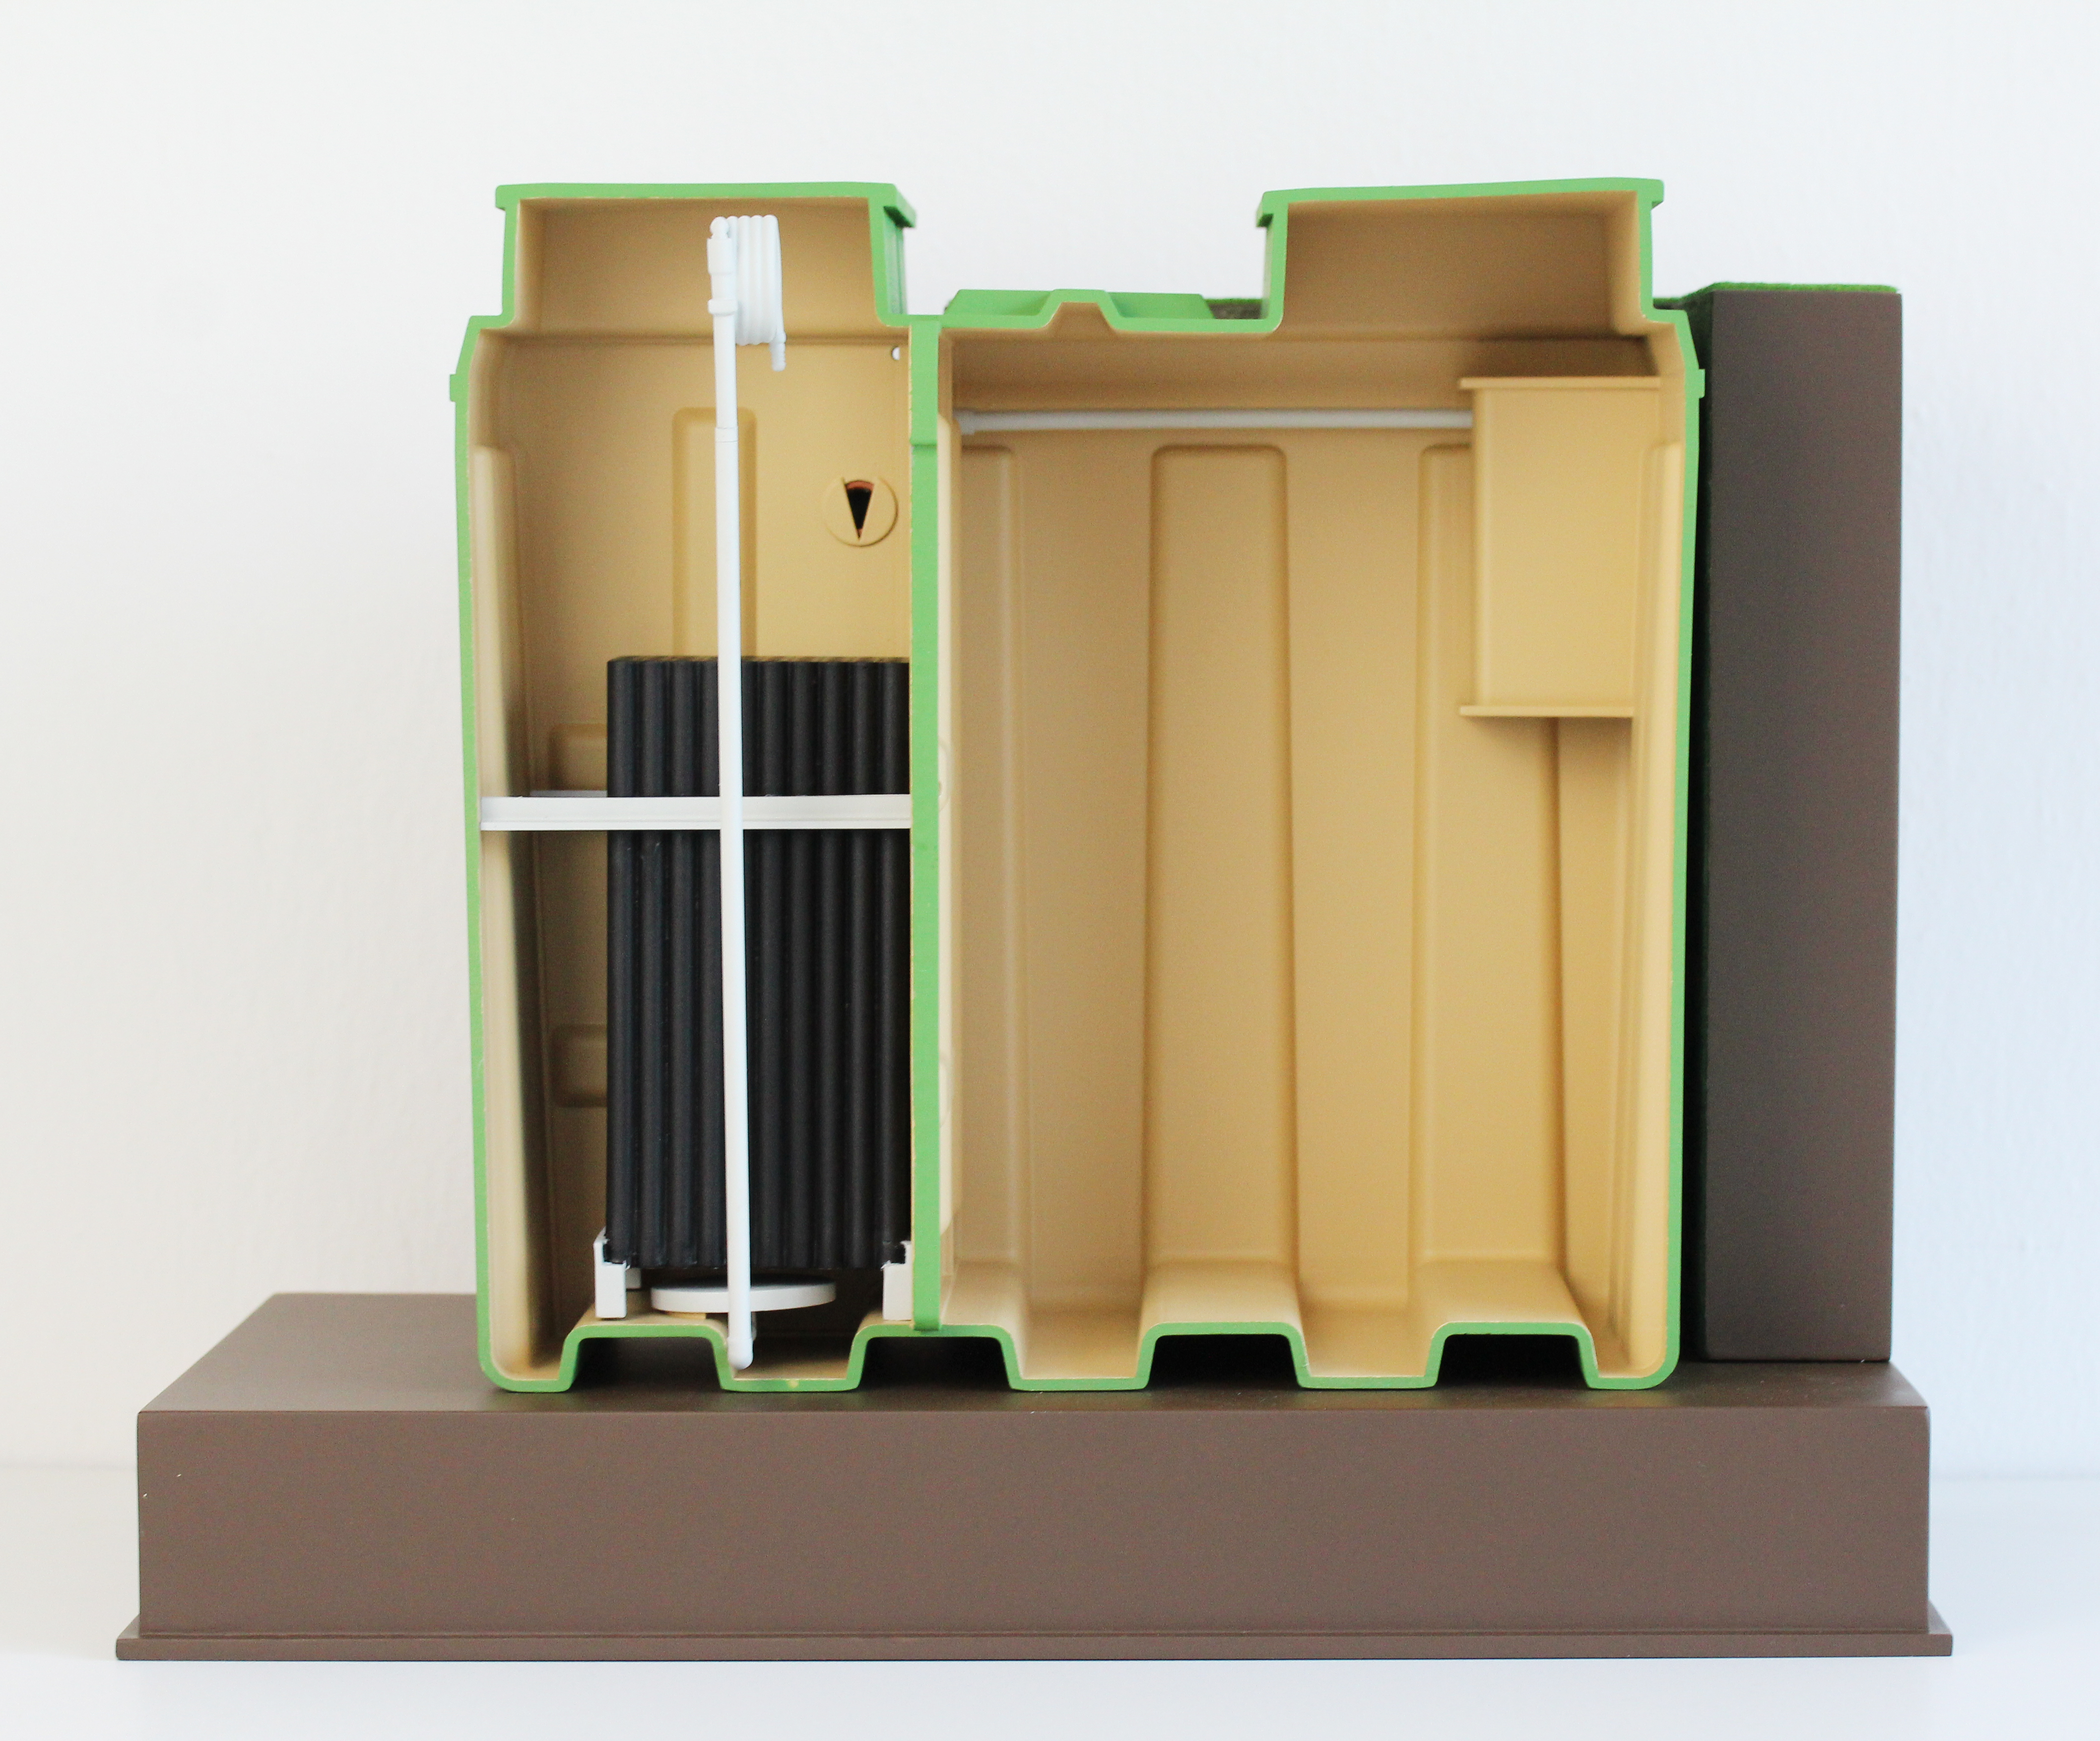
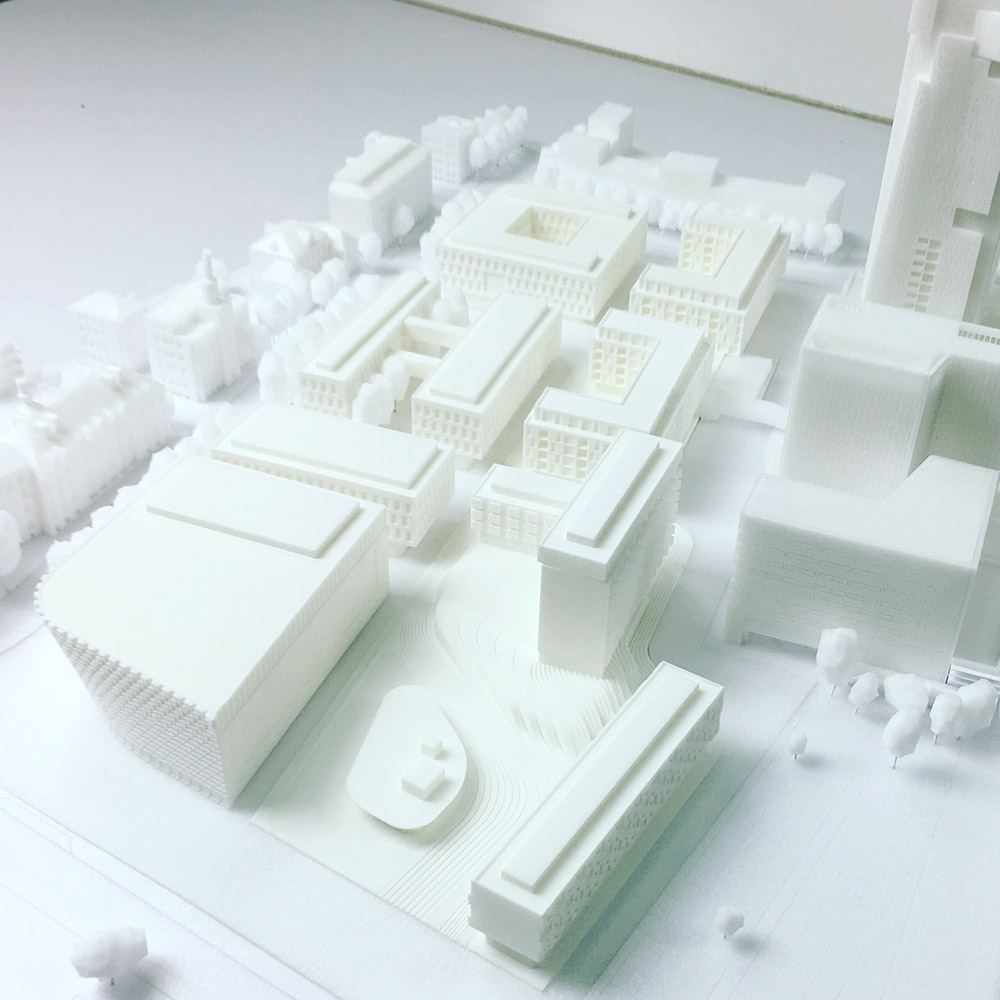
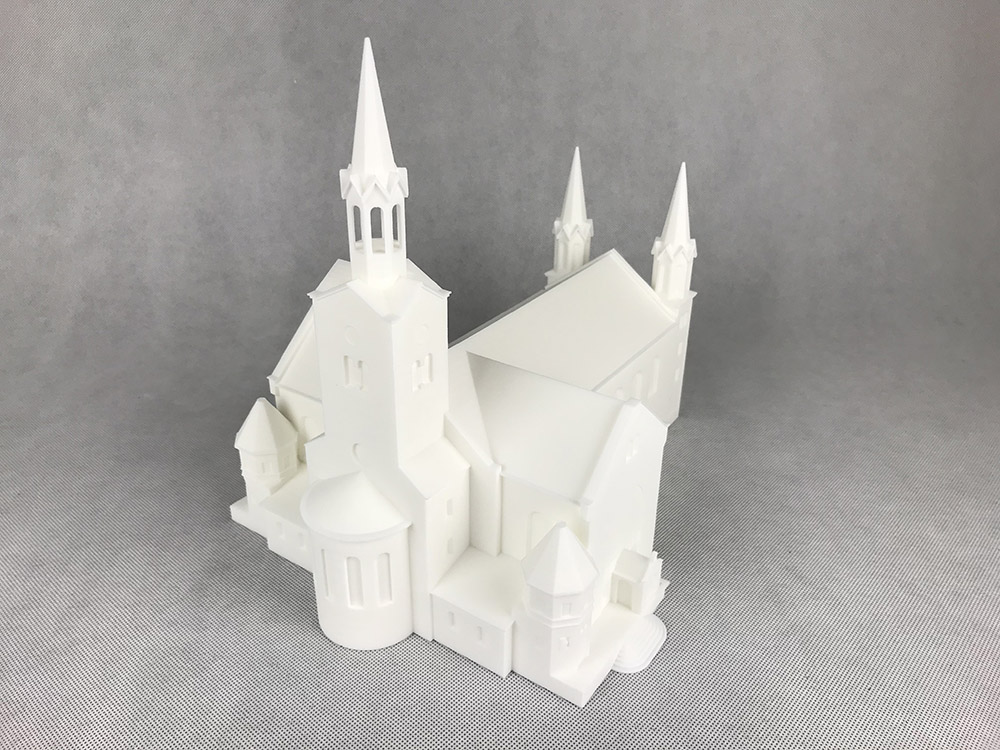
Scale models made in DLP and SLA 3D printing technology

3D resin technology prints give the best surface quality of the model and most importantly a very good detail. This allows to print 3D very small elements.

Standards of scale: 1:220/1:500/1:1000/1:2000

Main features: Very accurate models based on digital files. Good representation of the geometry of the model. Works well with small detailed models and urban models.

Technology :DLP and SLA 3D printing. Limiting the model size to the machine’s working chamber.

Materials: Resin

Colouring: Monochrome or painted models after printing according to the given color scheme.

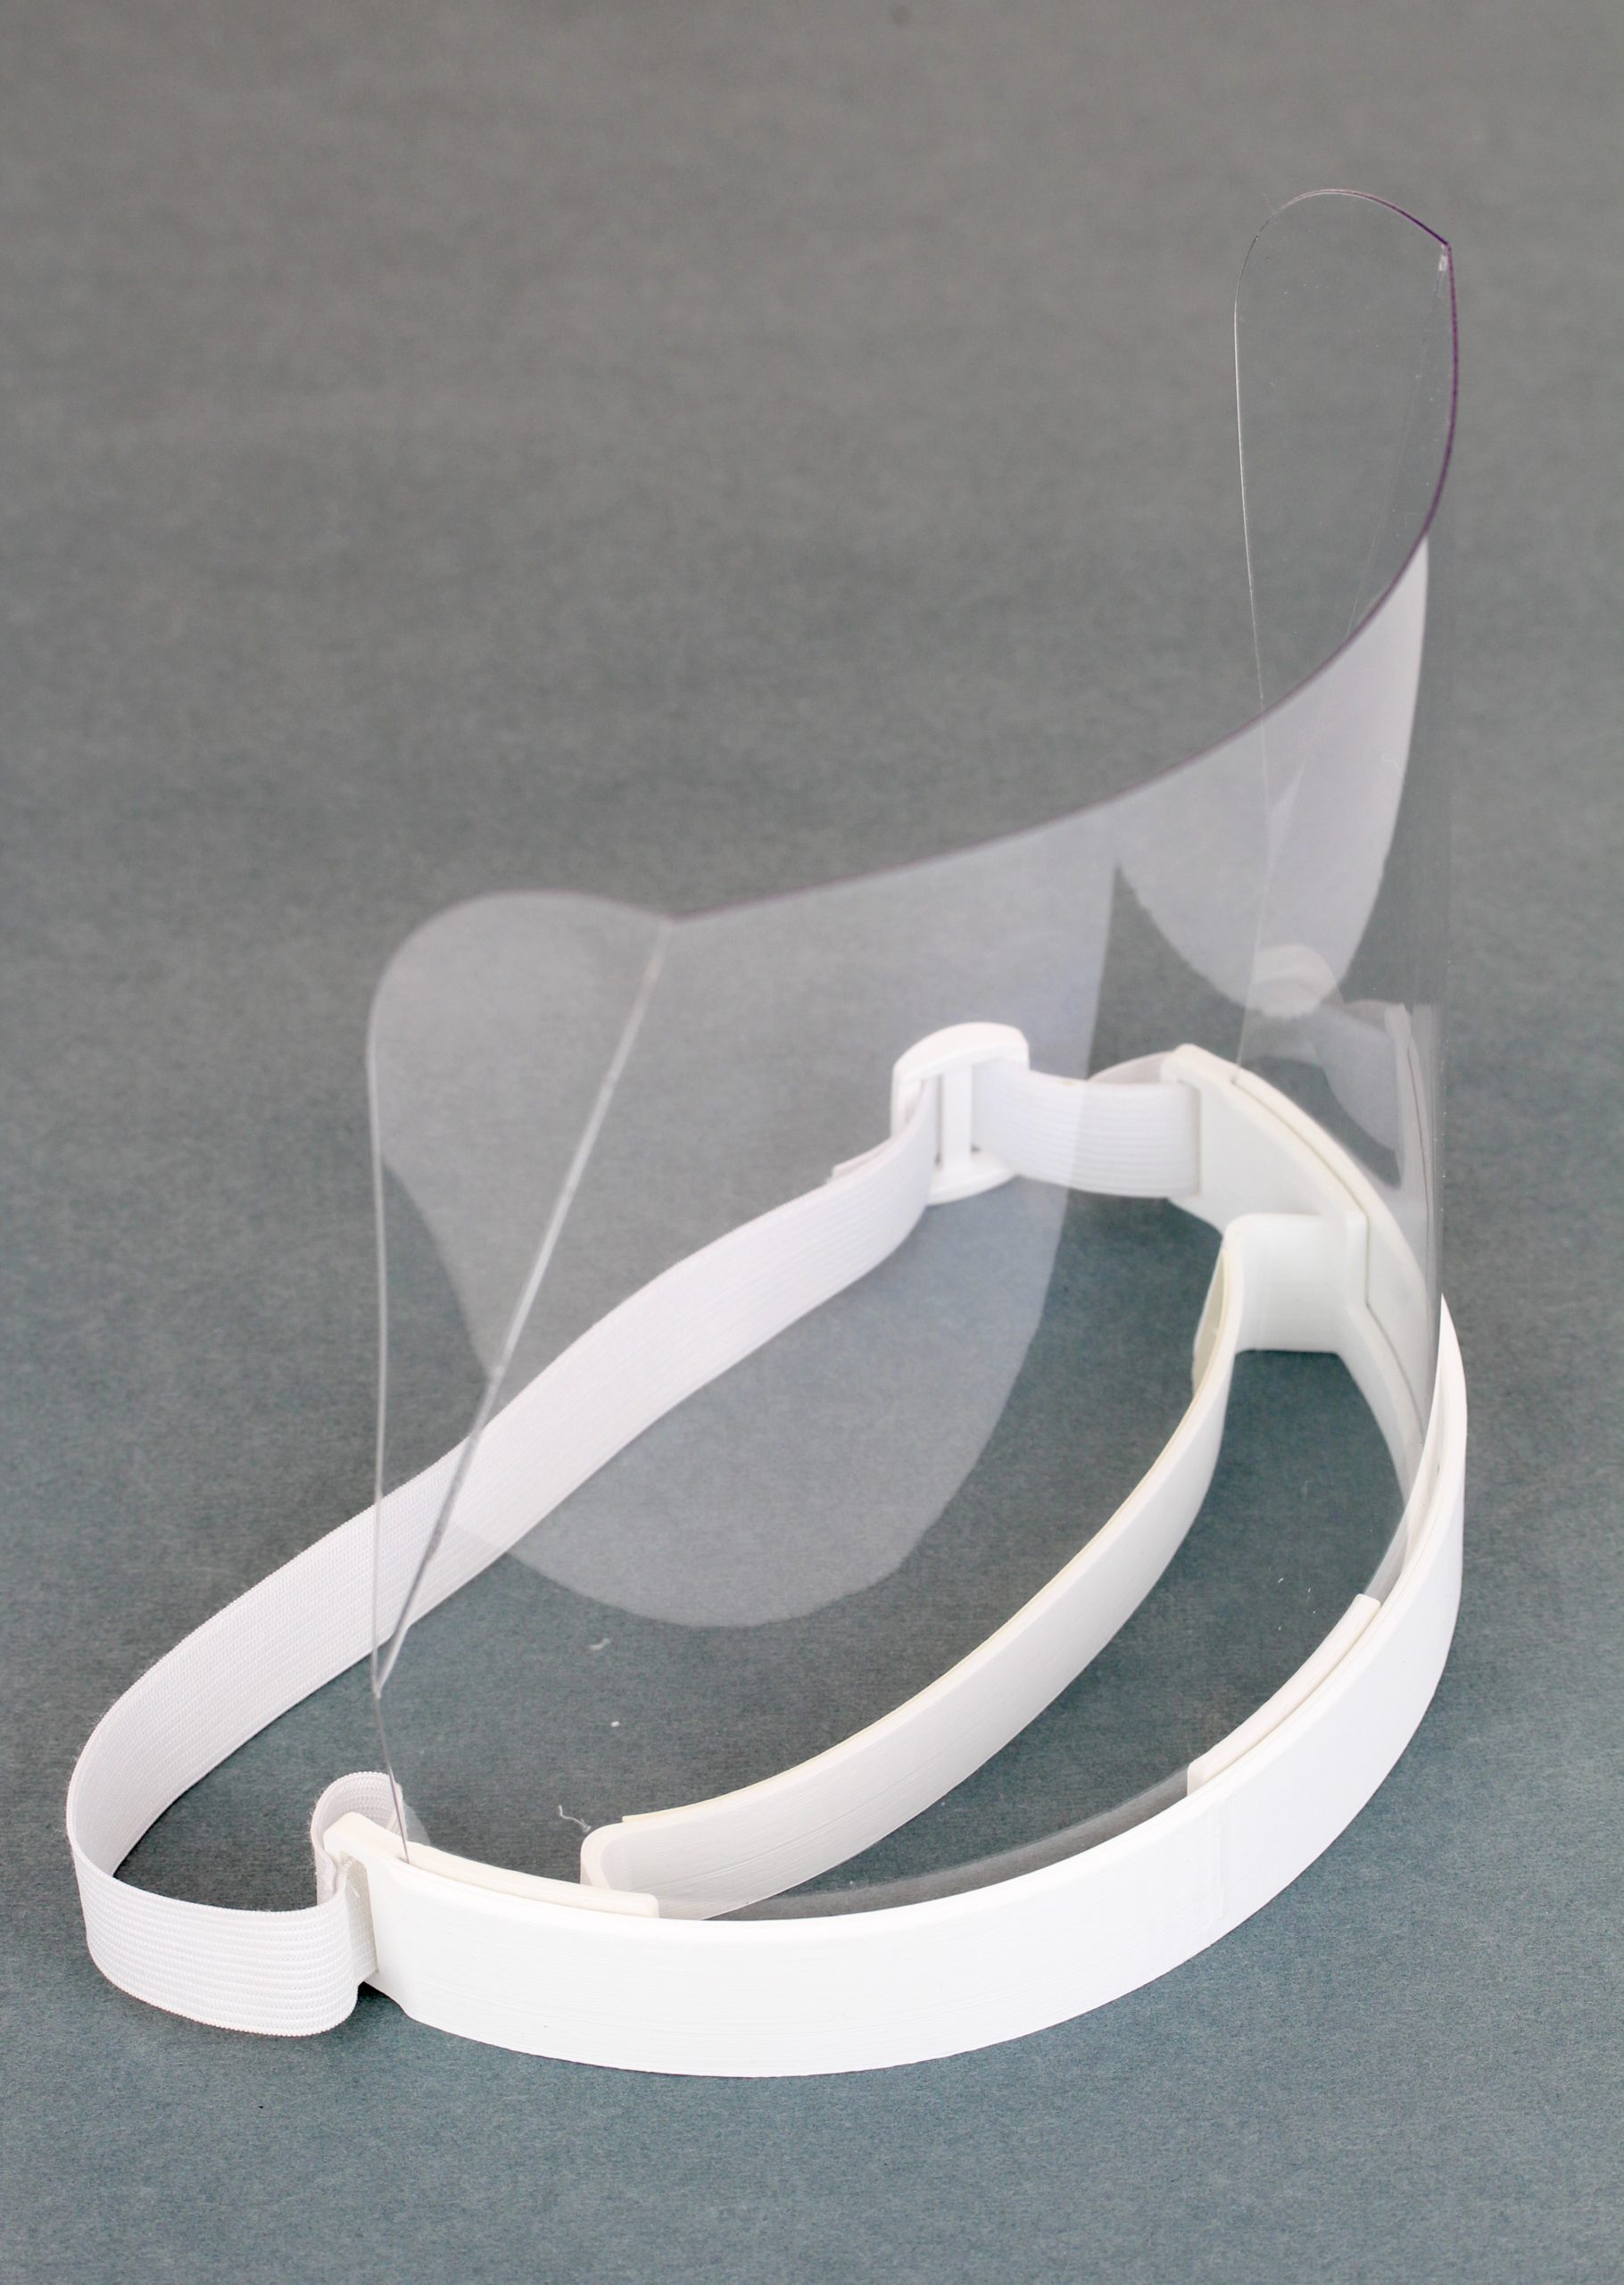
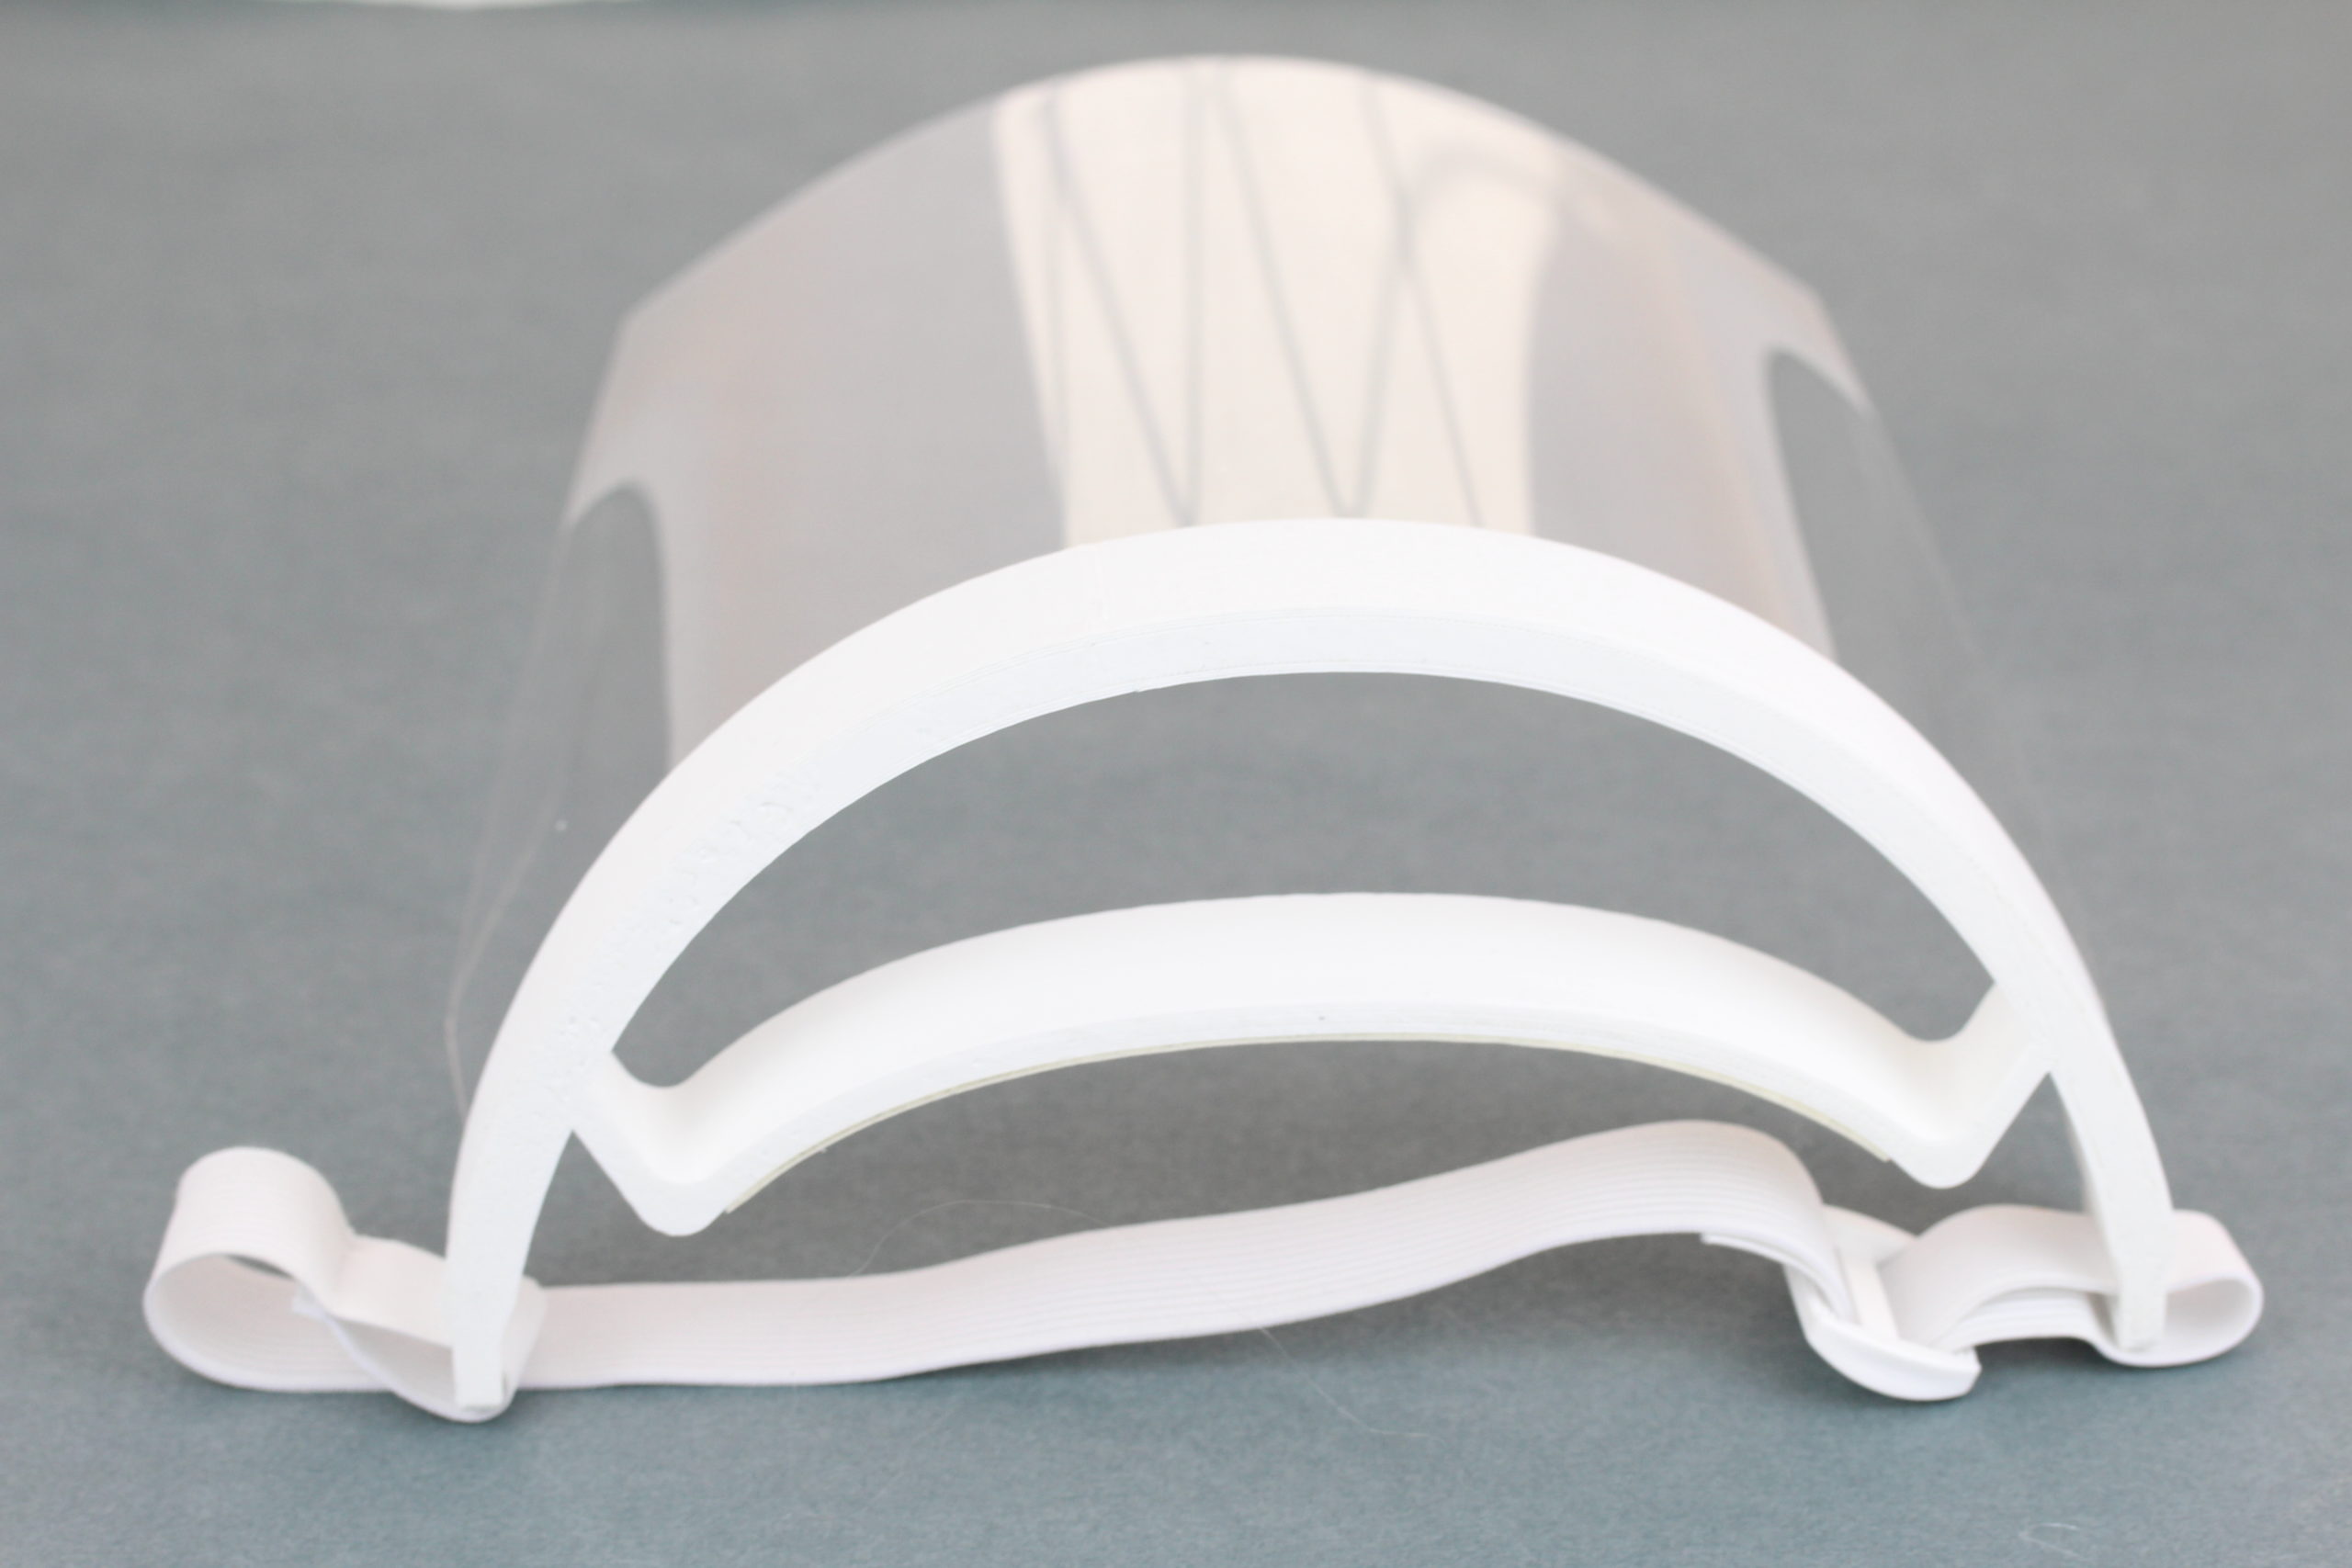
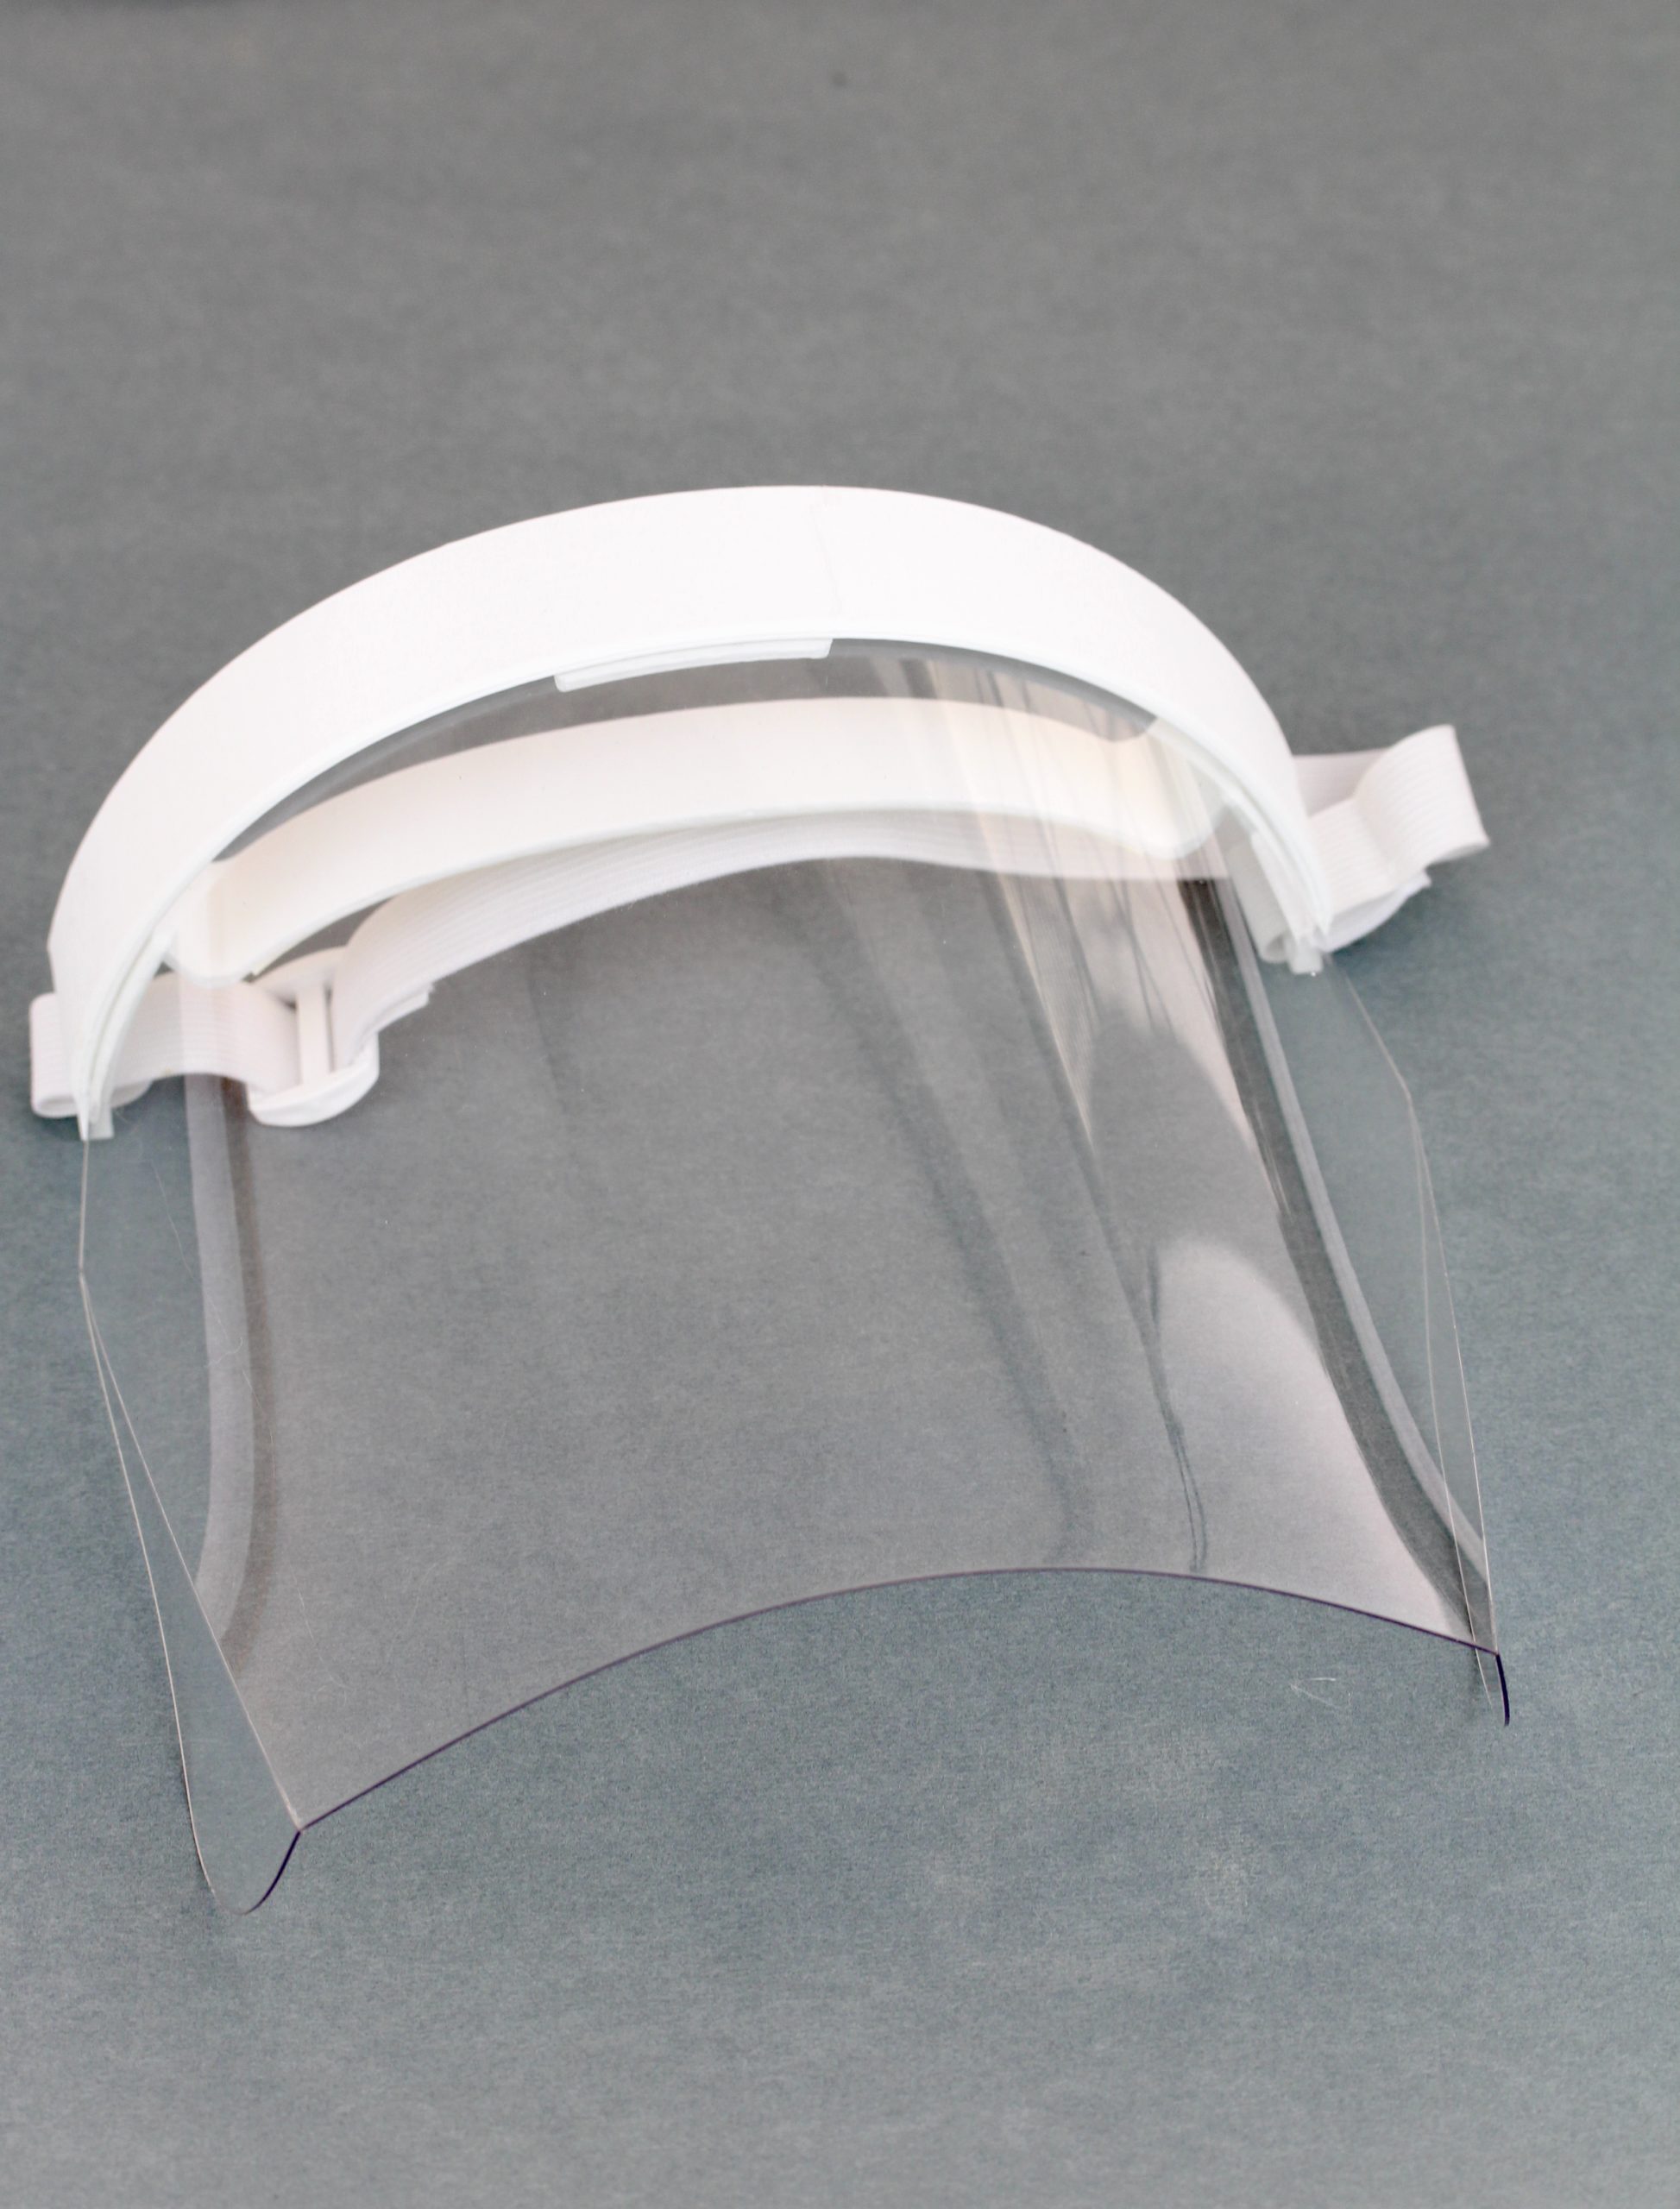
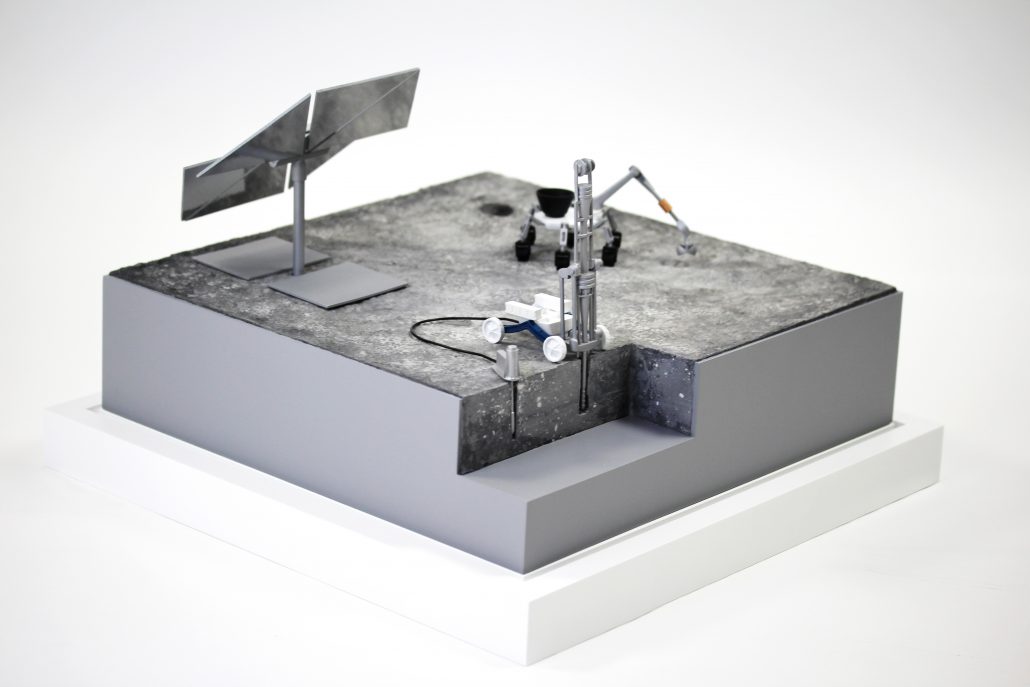
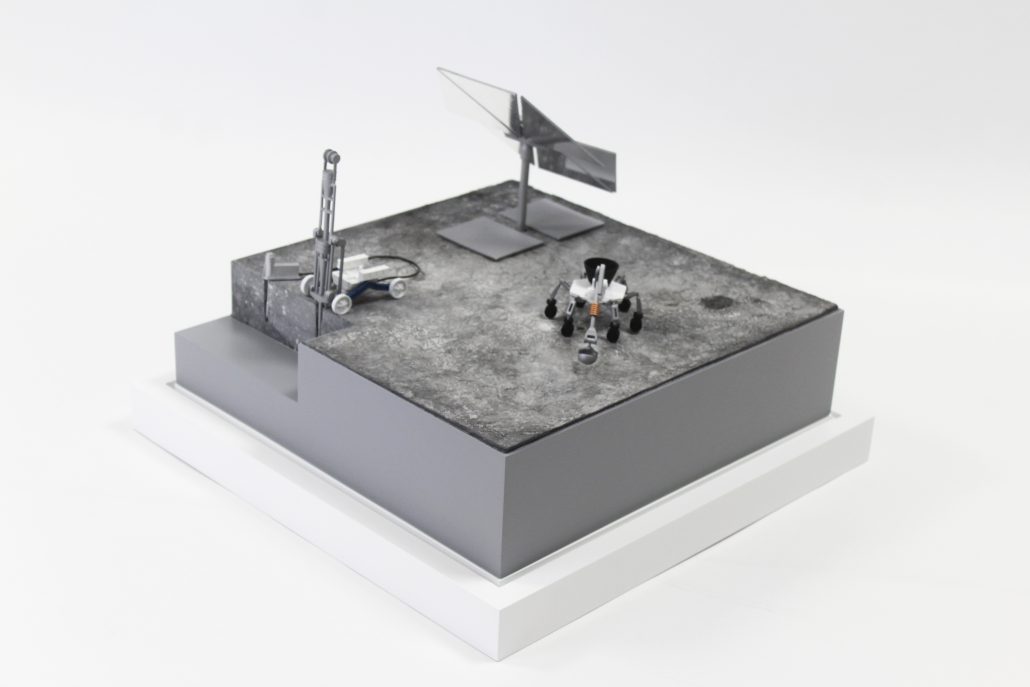
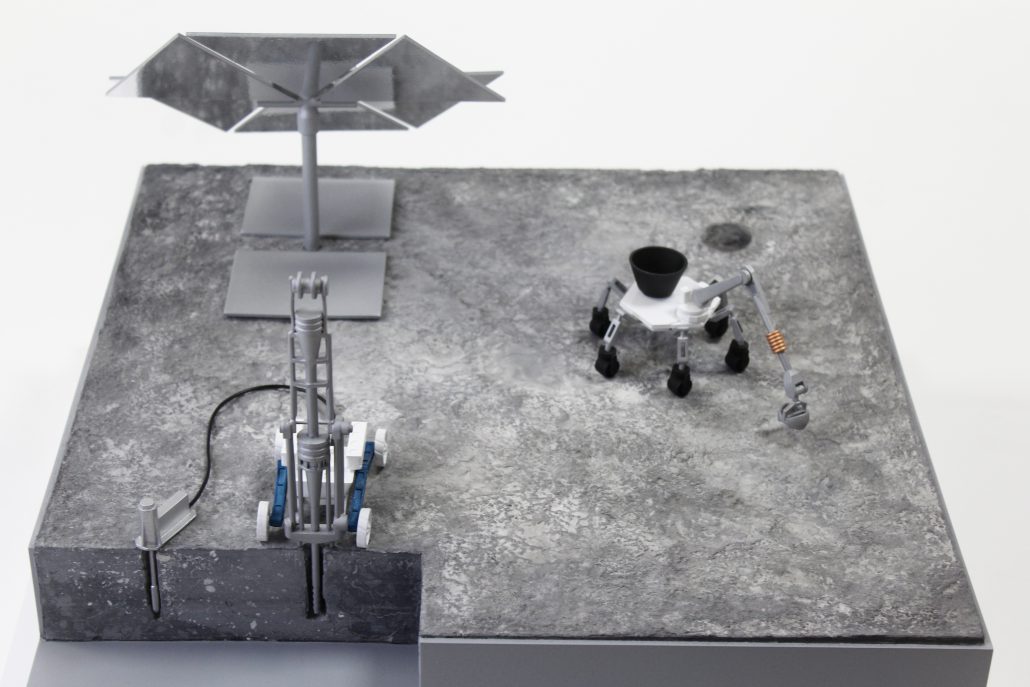
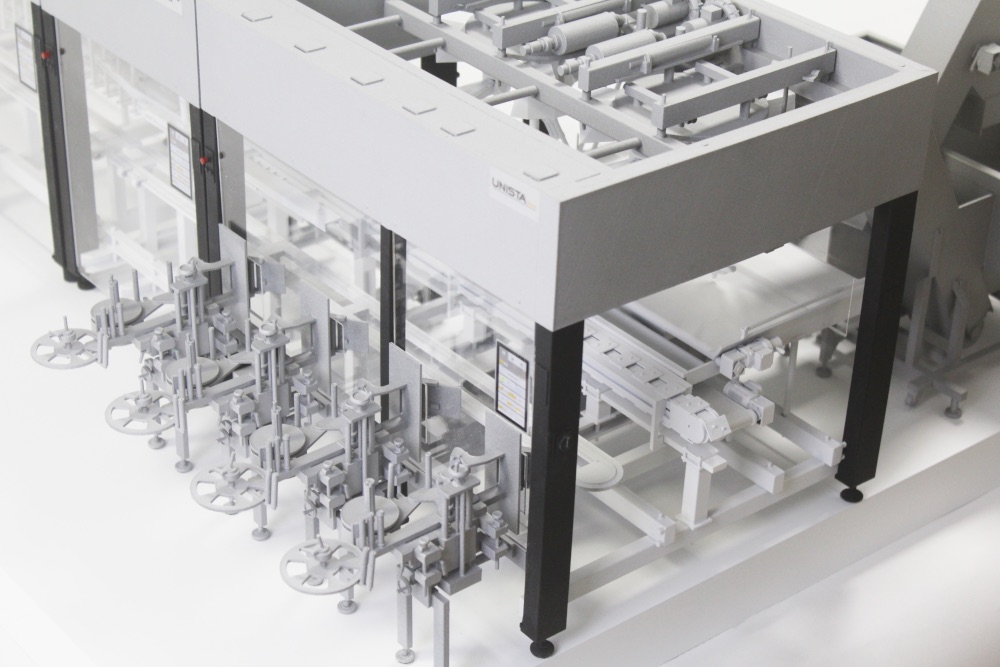
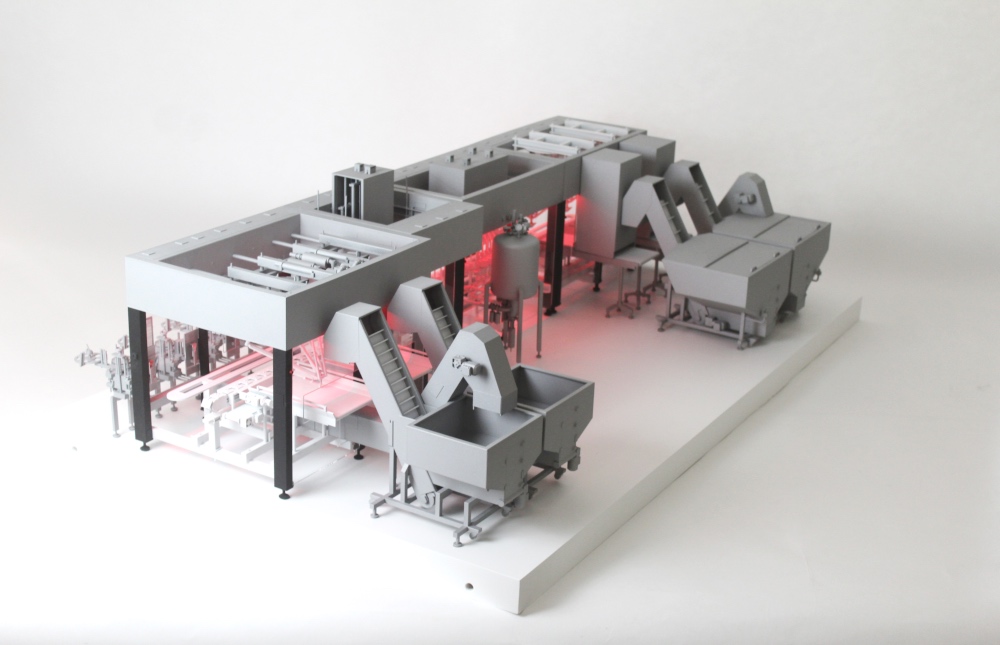
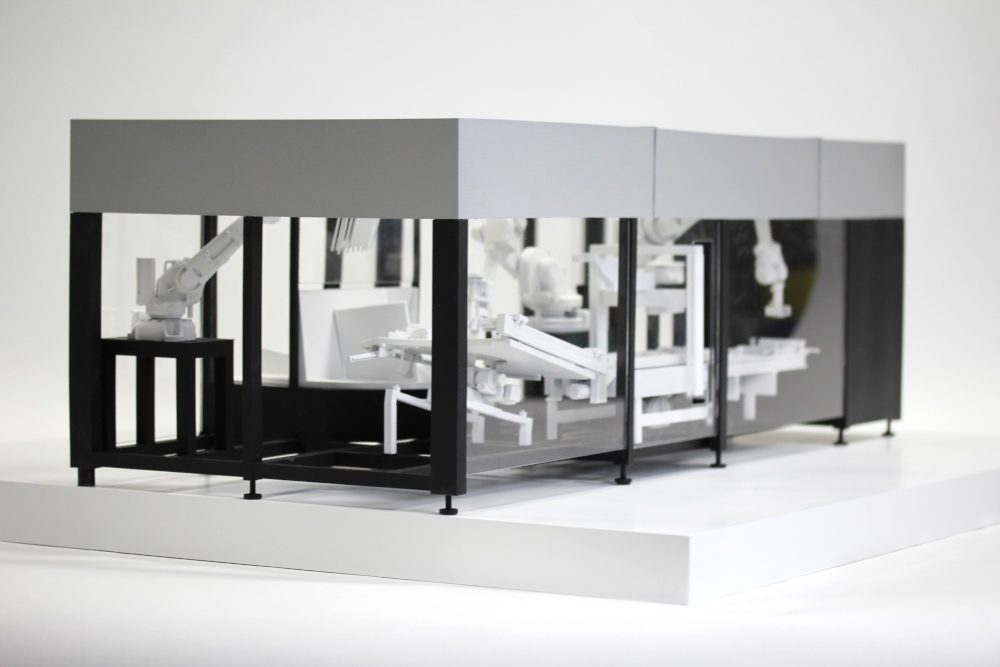
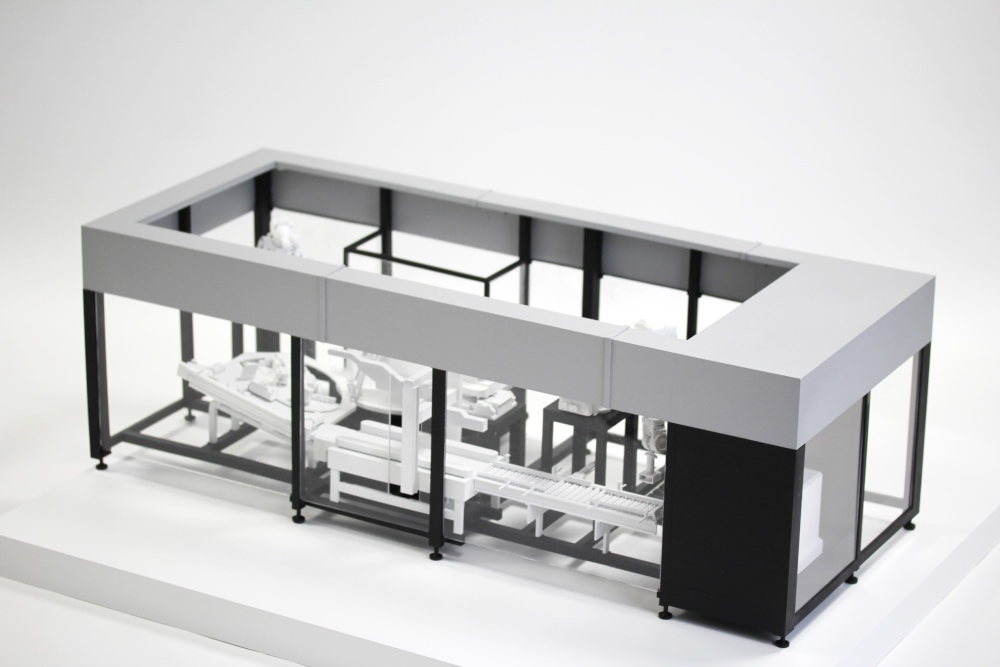
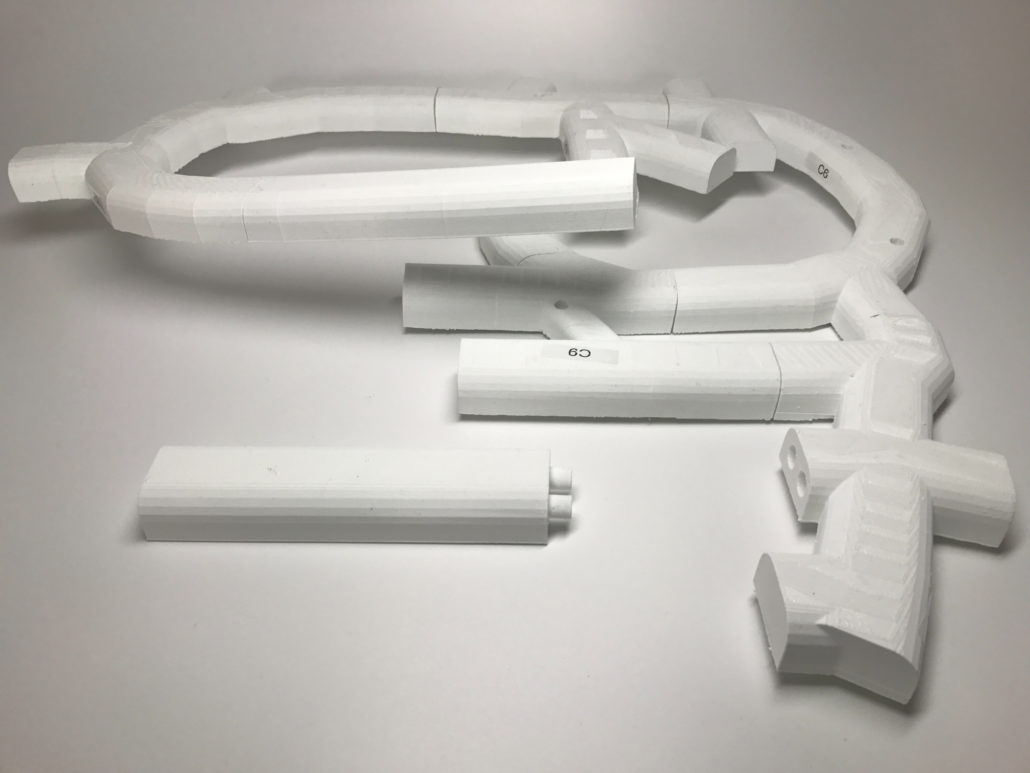
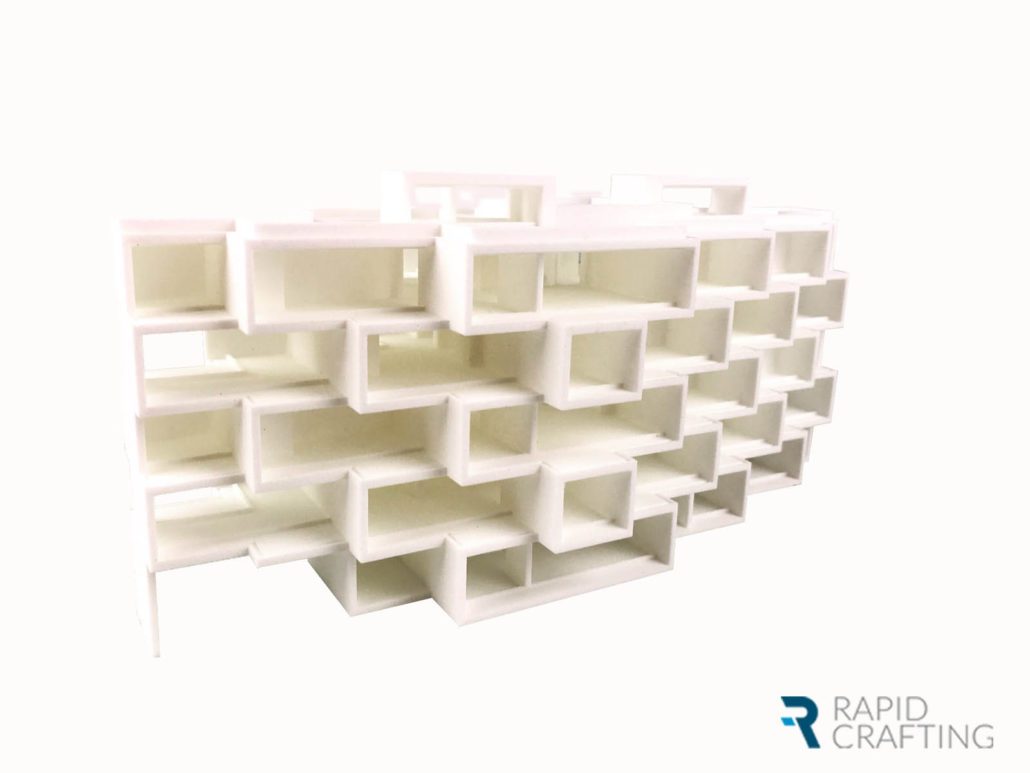
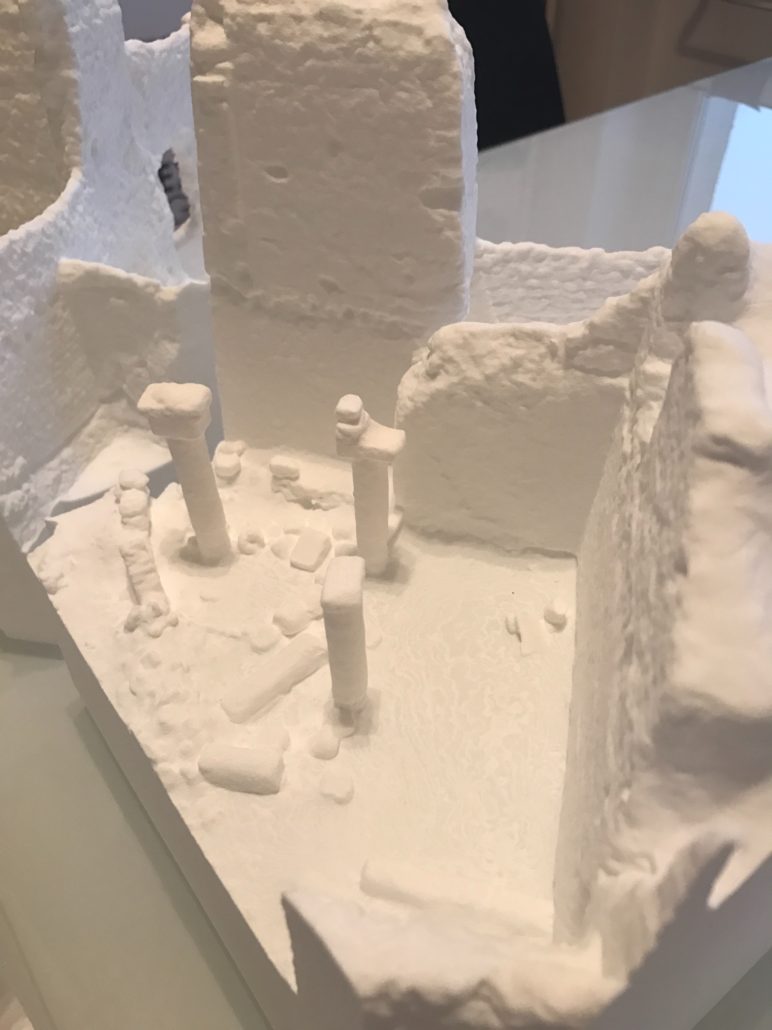
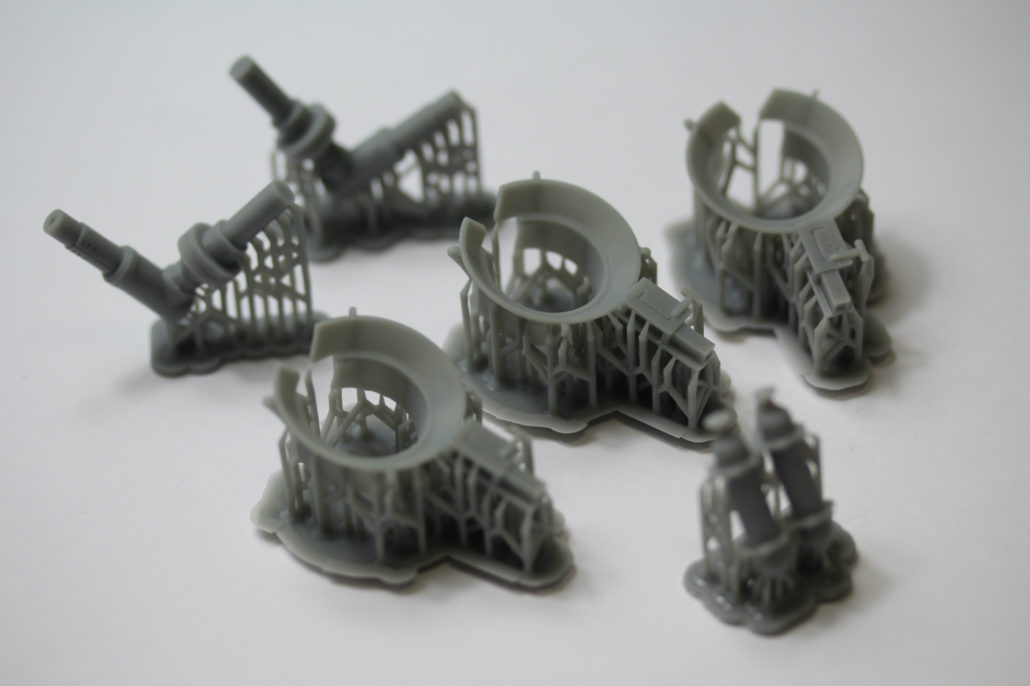
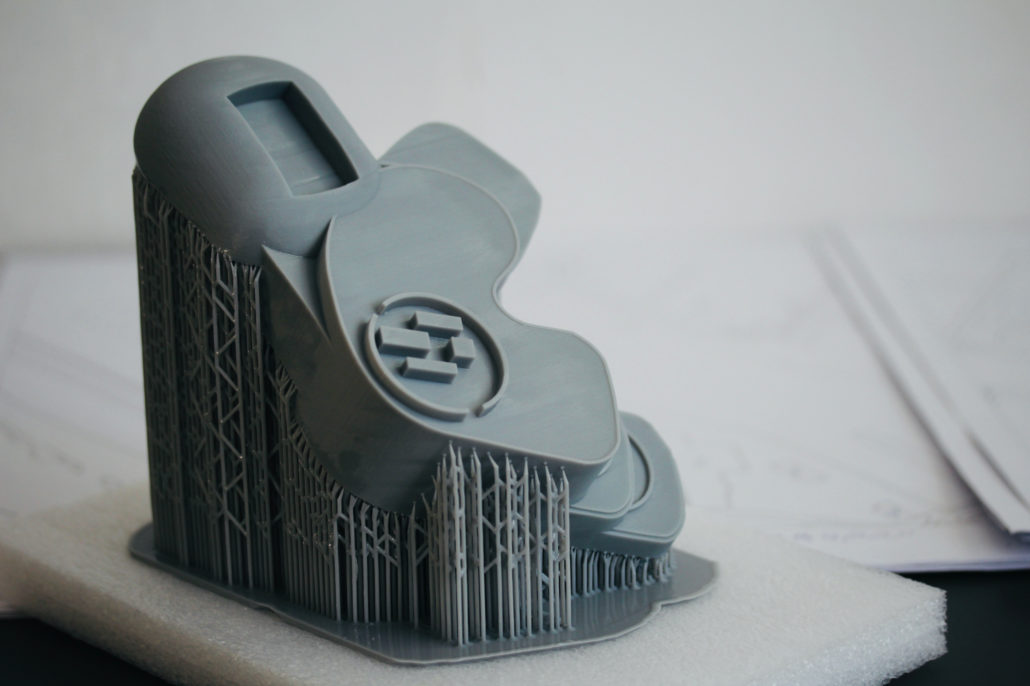
MJP (Multi Jet printing) 3D printed scale models

MJP technology is a 3D printing technology from resin, however, unlike the DLP and SLA process it does not produce standard supports, but uses a special washable supporting material. Thanks to this solution we can achieve very complex structures and very small elements. Often we produce elements for mock-ups which we are not able to produce using conventional methods.

Standards of scale: 1:87/1:100/1:150/1:220/1:500

Main features: Very accurate models based on digital files. Good representation of the geometry of the model. Soluble supports allow to make very complicated geometries.

Mainly used for making small elements in mock-ups and installation mock-ups.

Technology: MJP 3D printing – 0.016mm – 0.032mm printing layer. Limiting the model size to the working chamber of the machine.

Materials: Resin

Colouring: Monochrome or painted models after printing according to the given color scheme.

We invite you to the further part of the article : Part 3 – 3D milling and casting.

Part 3: What are the techniques of making architectural models? Part 3 – milling and casting

In 2018 we had the pleasure of working with KGHM ZAMAN, one of the largest manufacturers of mining machinery.

Our task was to create a mock-up/ scale model of a mining machine – Wheel-and-articulated loader LKP 1701 .

We made a model based on CAD models entrusted to us. After the consultation process we created 3D models ready for 3D printing. For such accurate projects we use 3D printouts from resin in SLA and DLP technology in order to best reflect the details of the model.

The 3D prints were painted according to the customer’s specifications, received appropriate markings and then assembled into a whole.

The model perfectly represents a real mining machine and presents itself perfectly.

Due to popularity of additive technologies, lower prices of simple FDM (FFF) 3D printers, and wide availability of free 3D models databases such as https://www.thingiverse.com/ or https://www.myminifactory.com/, many amateurs of 3D printing technology may want to create their own models or modify the existing ones to suit their purpose, expectations or taste.

To create a 3D model you do not need to have highly specialized and therefore expensive modeling software. You can use free programs like blender or online sketchup. However, making a visually good model may not be the same as a model adapted for 3D printing. In the following article I will try to present what rules should be followed when 3D modeling for 3D printing, so you can avoid many mistakes. If you ask a professional company to adapt a model for 3D printing in extreme cases it may take more resources than creating a new one. Sometimes it is quicker and easier to make a model from scratch based on an uploaded model with errors than trying to fix an existing one.

General requirements for models designed for 3D printing:

The hermetically sealed, airtight format used by all slicers, i.e. programs preparing a 3D model for 3D printing and converting it into a program that the printer then performs, is the .STL format. It saves the model by approximating its walls with triangles. Even if the shape saved is a sphere in the .STL format, it will consist of many small, flat triangles. The accuracy of the representation depends on the number and size of these triangles. However, as they grow in size, the model takes up more space and the work on it becomes slower due to the required computing power.

Each of these triangles has two sides, internal and external. Slicer recognizes these two sides so that the program knows where the inside of the model is to be filled and where the outside is.

orientation of the model walls – shows the correct orientation of the normal ones (burgundy color facing the inside of the model and blue color facing the outside)

Therefore, each model designed for 3D printing should be, first of all, a closed, “tight”, single solid. A few closed solids with contacting walls may cause that we will have two solids which will not be connected with each other. The edges of the contacting surfaces will have a visible trace of such connection and the surface will not be uniform.

The model must not have holes, i.e. missing triangles through which you can see the inside of the model. Such a model is not treated as a solid, but as a surface of zero thickness, which of course cannot be obtained. The so called inverted normal are also a problem. They appear when part of the triangles in .STL models is turned inside out and vice versa. Slicer is unable to interpret where the center of the model is, which can result in 3D print failure.

inverted normal – local inversion of normal (maroon colour should be directed to the inside of the model)

A similar problem may arise with a model that contains intersecting or overlapping walls. A well-prepared model must be free of the above mentioned errors.

How to avoid geometry errors?

The best way to get rid of geometry errors in the 3D model is to avoid them during design. Professional design programs almost automatically prevent such errors as they usually work on solid models. Free programs do not have such “safeguards” and require more thoughtful work. The principle is simple: the more complex and complex the model, the greater the chance of geometry errors. To reduce the probability of their occurrence it is necessary to work on single primitives (simple basic solids such as: cube, cylinder, sphere, torus, etc.), which during modeling, through pulling, scaling, deforming and other operations are transformed into target models.

If it is necessary to work on several solids, they should be connected with each other by means of Boolowski operations (CSG). This avoids most of the errors during model creation. Errors can also occur when modifying previously downloaded 3D models from the Internet. Editing these objects can lead to overlapping walls or holes in the model. Such errors are difficult to detect with the naked eye and cause serious printing complications.

Checking the geometry of the model:

To verify the correctness of the model, specialized software is used which automatically checks whether the model has geometry errors, fixes them automatically or indicates their location when automatic repair is not possible. Unfortunately they are not free in their full versions. However, they are worth their price. In addition to fixing bugs and verifying the geometry, they allow, among other things, to smooth the surface by compacting the grid of triangles, or to reduce the “weight” of the file by replacing multiple triangles, lying on the plane, with one. In addition, they allow the so-called shell, i.e. emptying the model leaving the same wall thickness throughout the model and the model itself empty inside. This is recommended with some 3D printing technologies in order to save material. Some programs have modules that allow you to prepare a file for 3D printing just like slicers.

Simple 3D modeling programs can also have some features to fix geometry errors, usually tools to patch holes and remove overlapping walls, but these algorithms work within a fairly limited range and cannot deal with more serious errors. The slicers themselves can also have very simple solid verification modules. They usually only check and fix the problem with reversed normal ones and only in very uncomplicated cases. Therefore, you should carefully check the print preview before releasing the file to the printer.

A well prepared 3D model with the guidelines and meeting all requirements will make the 3D printout cheaper , both due to lower material consumption (double walls may unnecessarily increase the surface area of the model) but also due to the lack of necessity to work on the repair of the model later. Correctly prepared model wit uniform surface of the model, will improve the aesthetic value of the print and increases its mechanical strength.

Nowadays, more and more things can be done over the Internet. From everyday shopping to making appointments for doctors. During the coronavirus pandemic, even more emphasis is placed on non-contact communication and the use of the Internet.

This can be a problem for the elderly people, for whom using a computer is not only a necessity to acquire new skills, but also a barrier like a poor eyesight. The information displayed on the screen can always be magnified, but the problem is that text can be entered into the computer using a keyboard, which are produced in a certain standard size, often too small for the visually impaired.

An elderly lady came to us with this problem. She wasn’t a stranger to the computer, however, due to visual problems she was not able to use the keyboard efficiently. She asked us to design and prepare a dedicated keyboard with convex keys so that she could feel the shape of the sign under her fingers.
We started the design process by finding a suitable keyboard, the keys of which would be flat, which would allow to stick a 3D printed overlay on each of them. The mark should be well felt under the finger and at the same time have rounded edges for greater convenience of use. We were limited by the size of a single key, the mark placed on it should take up most of its surface. In this case we decided to 3D print in DLP technology, in which UV light passing through the high-resolution screen hardens in layers a special resin with properties similar to those of ABS. The result is a 3D printout with high dimensional accuracy, high detail and high surface smoothness which perfectly matches the requirements of this project.

In the initial phase, we made several test keys with characters of different sizes and thicknesses, and then sent them to the client so that she could judge for herself which one would be most convenient to use.

After approval, we started the main part of the project. Letters and characters were made in the simplest font to make them easier to read. Each overlay was no more than 3 mm high so printing took only a few minutes despite a very thin layer of 3D printing (0.05 mm). Each 3D printout was cleaned in an isopropyl alcohol bath and then finally cured under strong UV lamps.

The last step was to stick overlays on the appropriate keys and send the modified keyboard to the client, who can now use the Internet facilities without problems.

During the COVID19 pandemic, companies are trying to help hospitals on many levels. There are many initiatives that use 3D printing.

3D printing technology allows to quickly produce models directly from the 3D file, significantly reducing the time needed to deliver a ready-made solution to the market.

One such example is the connector – the ventilator manifold. Our company Rapid Crafting together with the MSWiA Hospital has created prototypes of the Hamilton C1 and S1 ventilator connectors. The models were 3D printed and tested. We know that in case of an emergency, such a solution will increase the number of patients. They will be able to be temporarily connected to the appropriate apparatus.

Such solutions are not in line with the rules, but they will certainly help in case of a dramatic situation.

We sincerely hope that they will never have to be used, and the pandemic will end soon.

In recent weeks, a gigantic crisis has arisen in the market for medical products and personal protective equipment in caused by the coronavirus epidemic. All products are missing. Production in China is not able to meet the market needs.

Once again, 3D printing comes to the rescue. Companies as well as private individuals carry out various projects that can be produced using 3D printing technology.

Our company Rapid Crafting also decided to join the creation of personal protective equipment.

We designed the face shield for 3d printing and in just a few weeks, we managed to receive the EN 166 standard, as well as submit a patent application.

We got permission to deliver face shields to hospitals and clinics to fight the COVID19 pandemic.

Once again, we have an example of great use of 3d printing technology, which allows us to introduce a ready-made, full-fledged product to the market in a very short time.

Once again we had the pleasure to make trade fair models for Kingspan. This time the models were supposed to be much bigger than the previous ones.

Project started with receiving 3D CAD models and adapting them to the appropriate scale, so that each element was ready for 3D printing. The models were divided into elements so that they would print well in 3D SLA technology.

After 3D printing, each item was painted in accordance with the RAL colors and then assembled.

For the models we made an imitation of the terrain, soil section and plexiglass cover.

After combining everything, the models looked great.

They were sent to the USA, where a branch of Kingspan will present them at the next fair.

A model of the moon surface with a printed 3D rover.


Recently, another edition of the Scientific Picnic was held. The event attracts many enthusiasts of new technologies, so it could not miss the Polish Space Research Centre.
Once again we had the pleasure to cooperate with this institution, this time creating a model of the moon surface and a drilling rover.
While creating the model we used classic methods of making mock-ups and 3D printing. Models of the rover and power umbrella were printed in 3D in DLP technology with resin. Thanks to this, we were able to reproduce very accurately the smallest details directly from the 3D model.
The model looks very well, as always :).

Huawei developed an artificial intelligence application for the phone to enable blind people to “see” the emotion on the face of the person they are talking to by translating it into sound.

Facing Emotions, developed by the Polish Association of the Blind, uses the Mate 20 Pro rear camera of Huawei’s phone to read the emotions on the face of everyone the blind user talks to, analyzing their expression using Artificial Intelligence (AI). The offline learning algorithm used in the phone identifies the main features of the interlocutor’s face, including eyebrows, eyes, nose and mouth. Then it can determine the positions relative to each other and identify a specific emotion.

The casing design from 3D printing was created by the Polish designer Jan Kochański and made by Rapid Crafting.

We have printed 3D models of the enclosures in DLP technology. Selection of appropriate technology ensured dimensional accuracy and aesthetics of the finished product.

At the moment we have made over 200 casings in 3D printing technology. Thanks to this method of manufacturing, there is no need to create expensive injection moulds and the number of models produced ideally meets the demand.

More information and a spot: https://youtu.be/x_ipT69JWdc

and Dezeen: https://www.dezeen.com/2019/01/02/huawei-app-blind-facing-emotions/

Packaging line for Unilogo

Recently we had the pleasure of making a prototype of a production line for Unilogo, a company that creates specialized packaging machines.

In view of the upcoming trade fair, we had only 2 weeks to do all the work related to the creation of two mock-ups.

We decided to do them in 3D printing technology. Therefore, the work started with adapting the models supplied by Unilogo in the form of STEP models. Thanks to our qualified staff, we were able to quickly adapt the modules to 3D printing on an appropriate scale.

The models were printed in 3D using MJF (multi jet fusion) technology offered by HP. 3D printouts were printed very quickly due to the 3D printing process offered by MJF technology.

After careful planning, the models were painted and then assembled together with the LED installation.

After 2 weeks we had a ready-made exhibition model, which looked great.